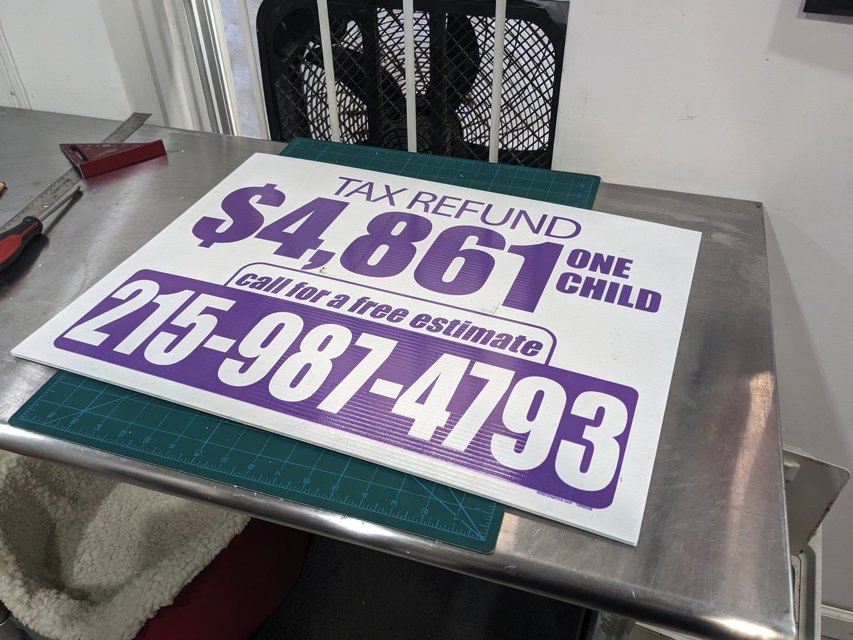
Get any scrap of corregated plastic (or Coroplast the brand name) that is larger than 14" x 17" - this free (reclaimed and recycled) street sign is big enough to make two!
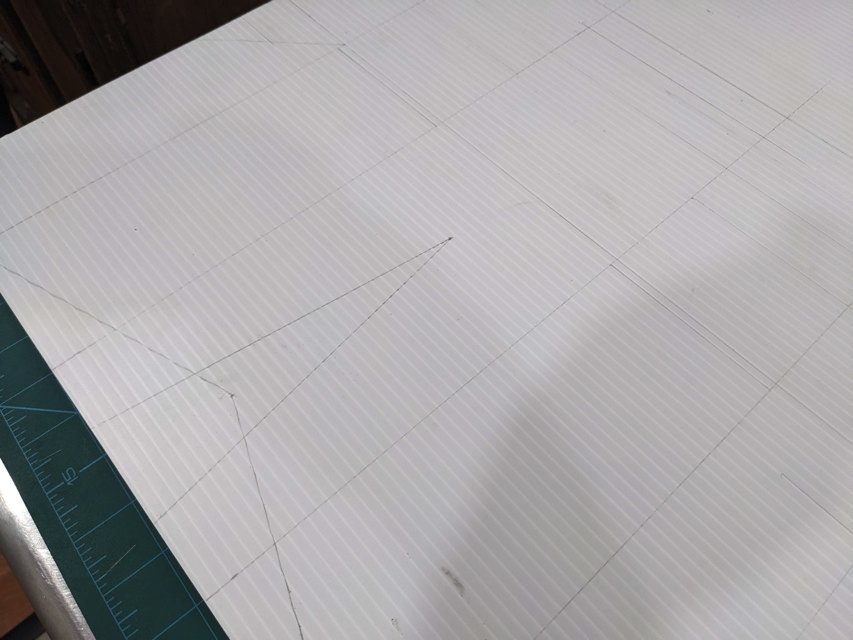
A T-Square or L-Square help greatly with drawing straight parallel lines on the plastic. Work on a surface you can cut into with a straight razor or x-acto blade.
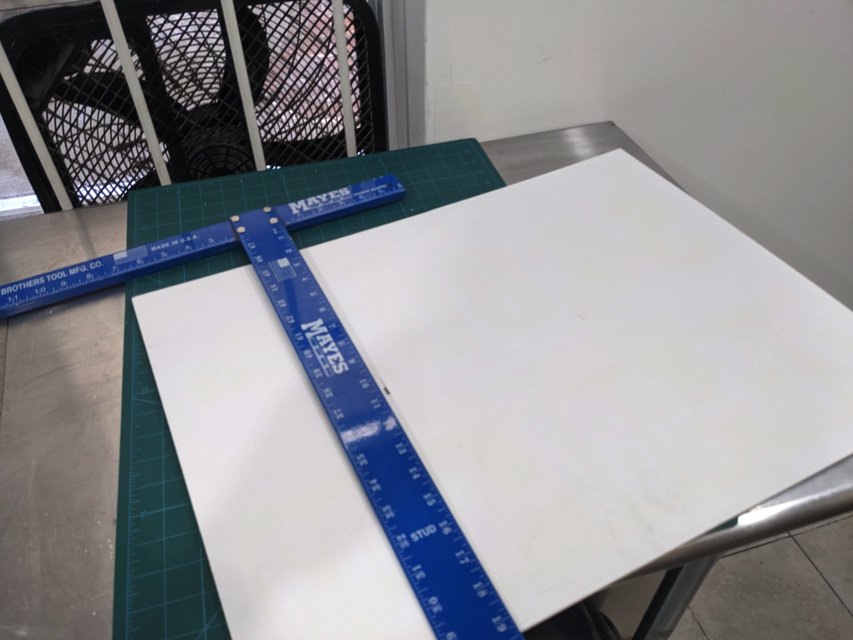
Turn the printed side down, and work on the plain side (this side will show in the finished product). I like for the flutes to run sideways (less debris falls in) so consider that when transferring the design.
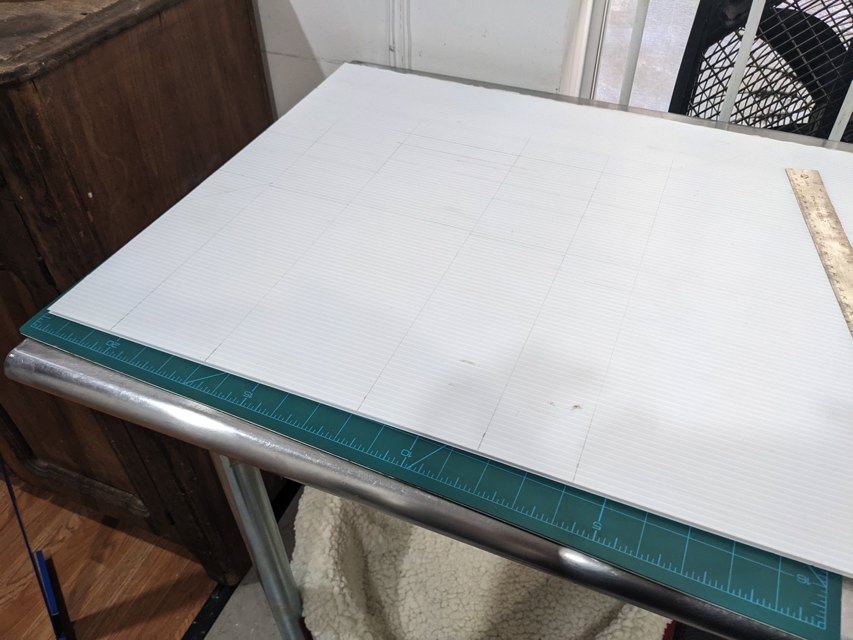
Using the good, clean square edge of the plastic transfer the design using light pencil lines. In this case, the design is upside down, as the top edge is closest.
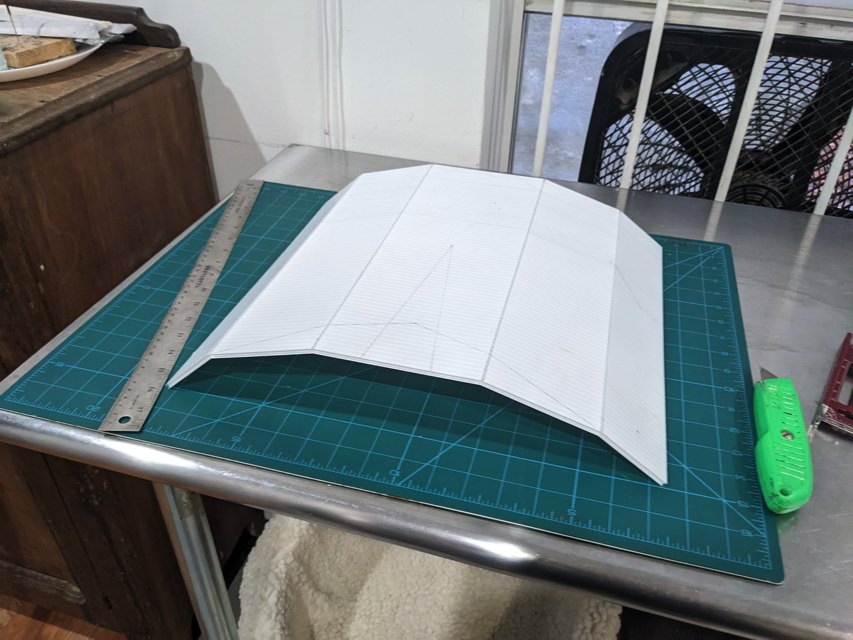
Using a sharp razor and a straight edge, cut the vertical half-cuts (slightly harder if the flutes run horizontal) and pre-bend the folds.
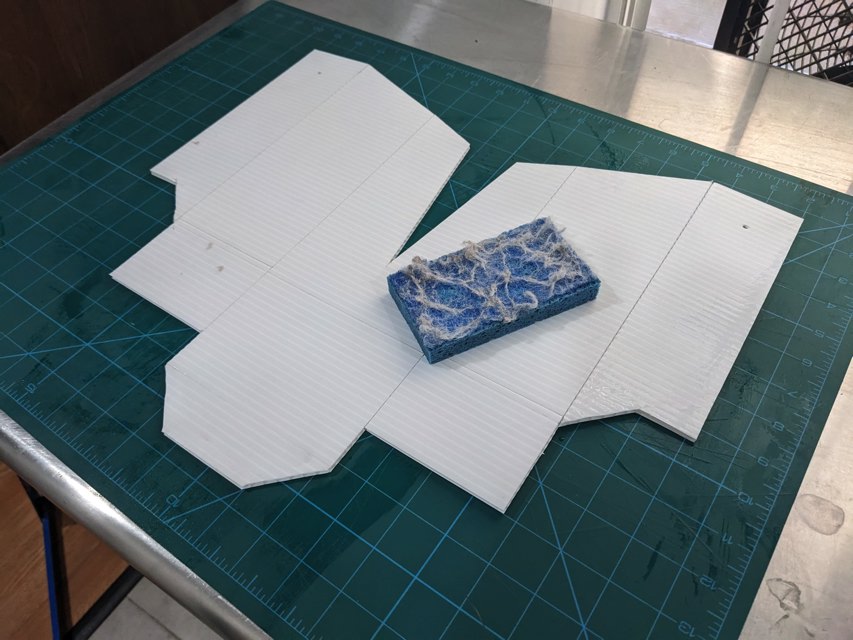
Cut off the rest of the debris and make all the horizontal half-cuts. Note the side-bottoms should be half-cut exactly one flute higher to allow room for them to fold in just above the bottom. Clean all surfaces with a wet sponge to remove pencil marks.
Assemble, with the side-bottoms folding in first, and closing the keyed back-bottom and sides with packing tape inside and out.
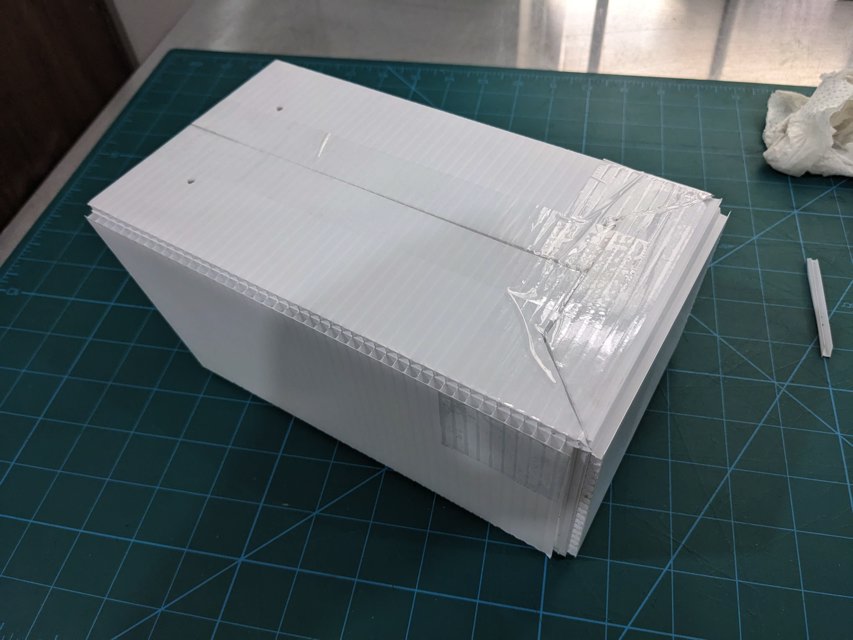
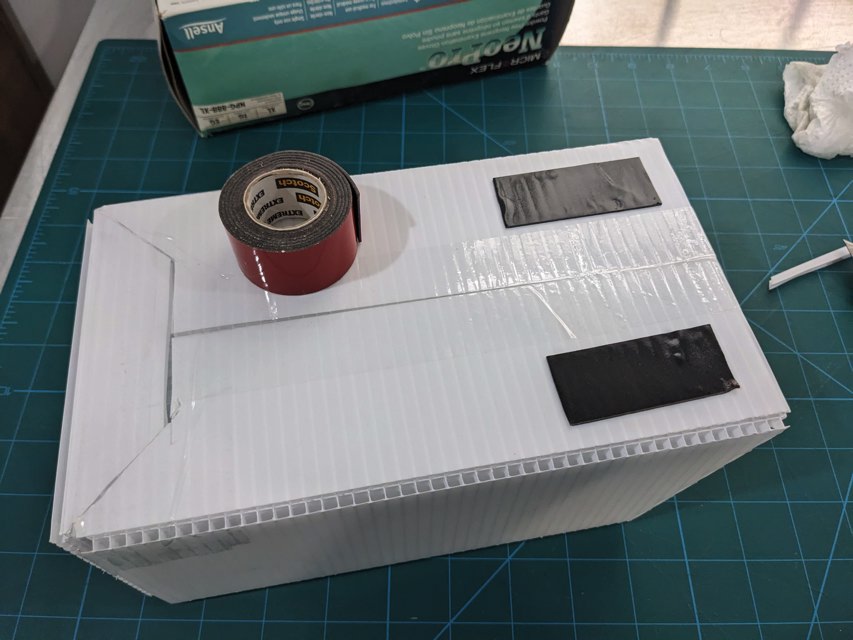
Apply double sided tape to the back across the top. This can also be screwed to a wall easily.
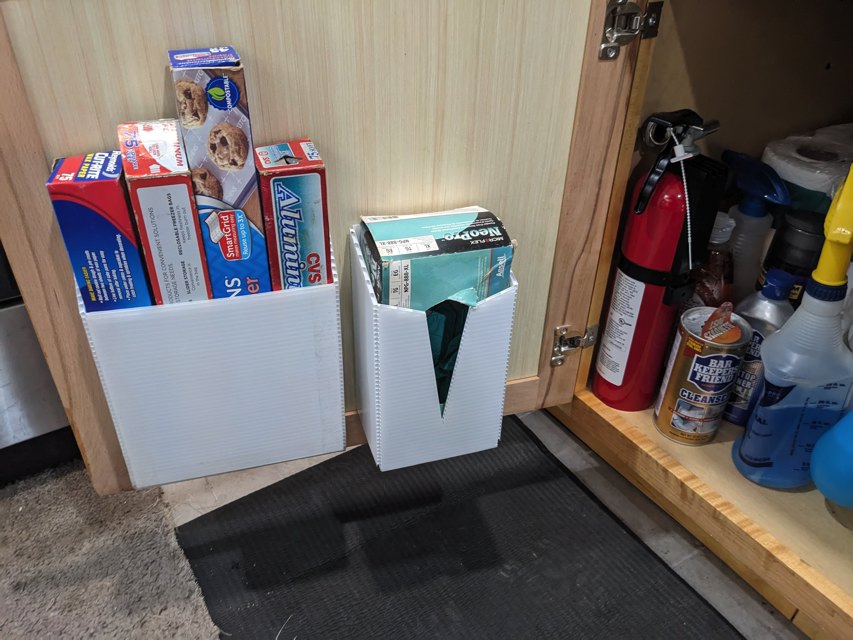
Installed (under my sink cabinet, next to my similarly designed coroplast roll holder!)