
Just to update the readers, my Cocktail MAME cabinet build is coming along nicely. Design decisions affect future design decisions, therefore I've gone down some design paths more than once. Best example is the joystick panels. My initial designs were made smaller to fit the new design and available molding.
First pass at Joystick Panels (with Pinball Buttons)
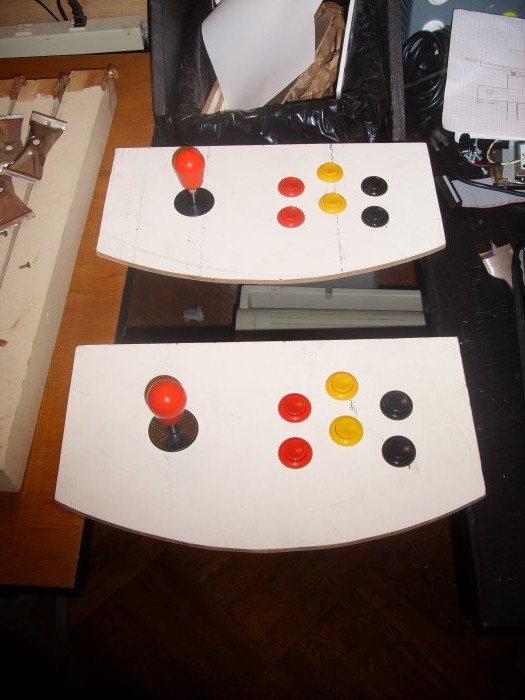
Joystick Layout
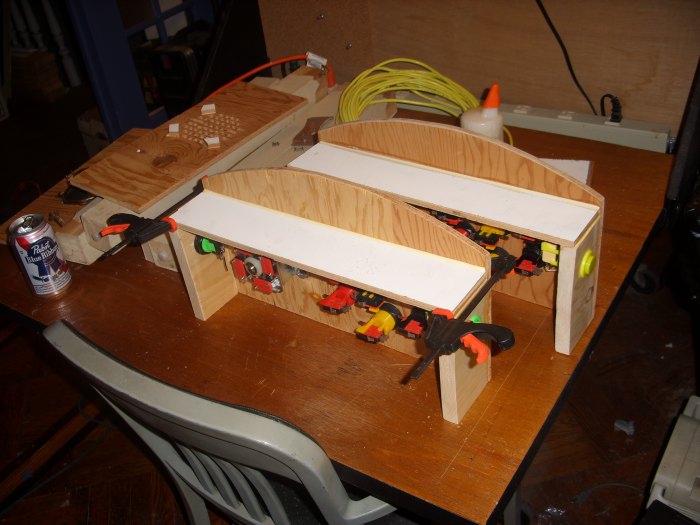
Waiting for the Glue to Dry on Joysticks
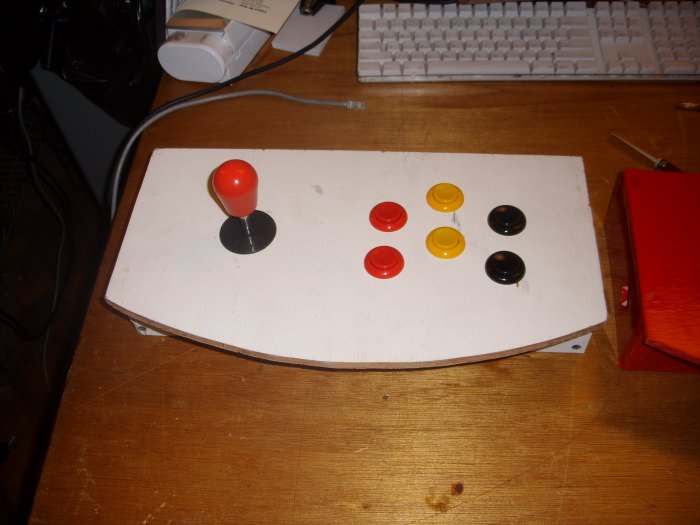
Unfinished Joystick Dry-Assembled
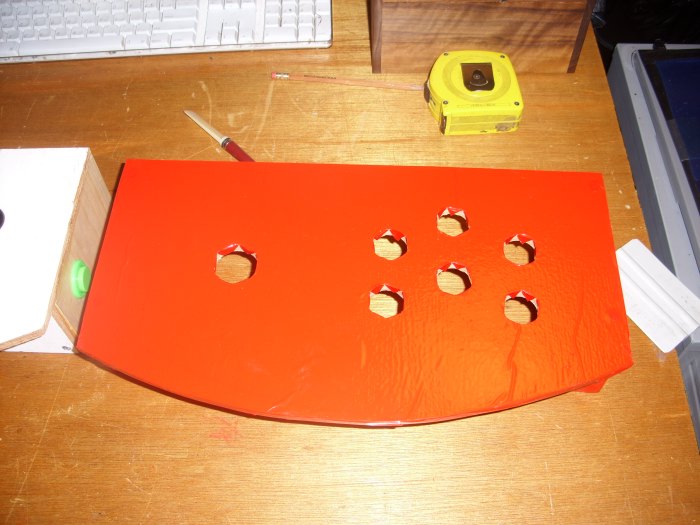
Unfinished Joystick with Red Plastic Wrap
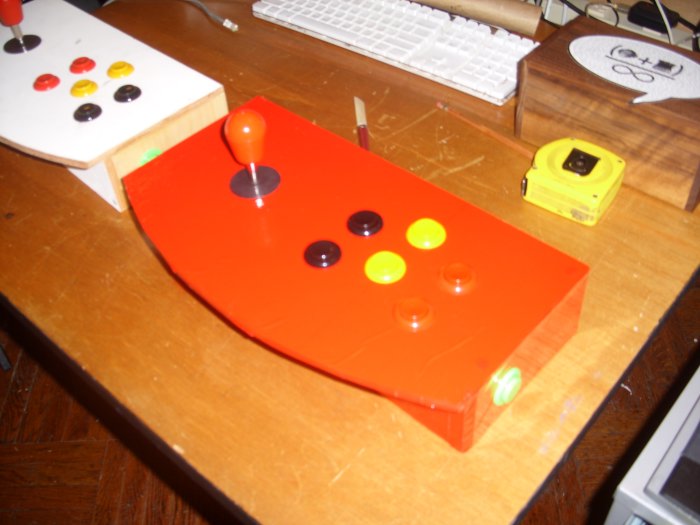
Finished Joystick with Red Plastic Wrap and Pinball Buttons
I was going to attach these to the sides of the box that would be the cabinet. I tossed that idea, therefore the entire joystick assemblies were disassembled. I cut the top panels to an even smaller width, and took a half-inch off the front (leading) edge as well.
New Cabinet Design
I was discussing the project with a housemate, and he pointed out some shortcomings to my initial design. For example, in my initial design, I had the 2 players setup opposite each other. If you were playing head-to-head (Mortal Combat), neither player would have a front-facing view of the screen.
I was also discovering that the built-in video on my CPU motherboard wasn't as robust as I might like. Getting it to do software screen rotation was out of the question. I could look into getting a small profile video card with more memory, but I was looking top keep it under budget.
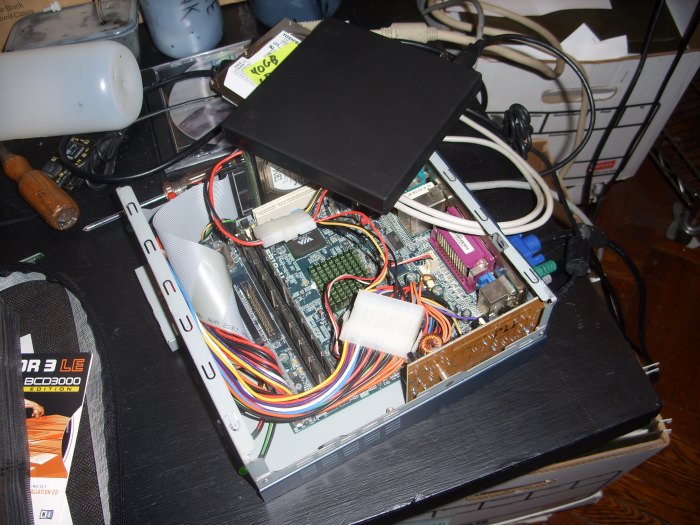
The Arcade's CPU
My solution was both simple and complex: the screen will be on a rotating platform that is just underneath the glass table top. The screen can be rotated to 'face' each player as it's thier turn, and it can be placed at a half-way point for head-to head play.
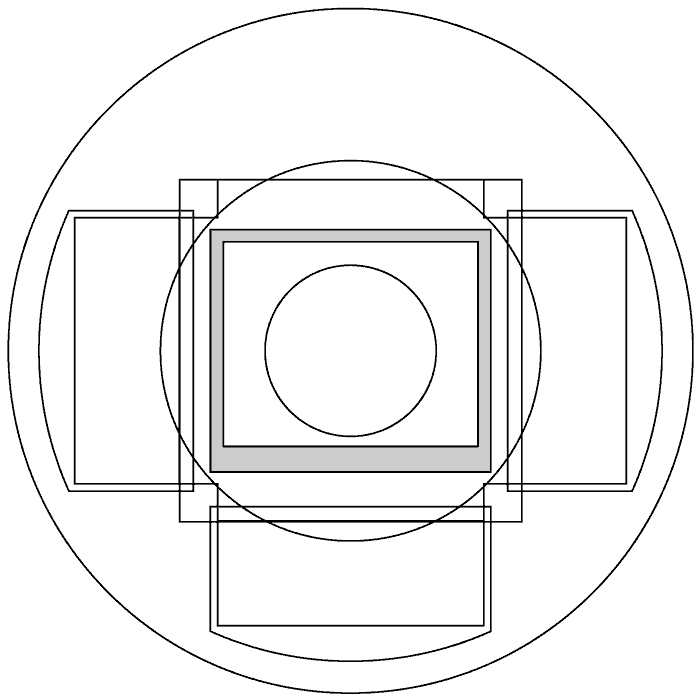
New Arcade Design Top View
My monitor is a 17" LCD flat-screen that is disassembled to the smallest working footprint. It happens to fall just inside of a 20" diameter circle, which will be my rotating platform. The cabinet will then be 18" square, with extensions on 3 sides for 3 removable joystick positions. The fourth wall will have the coin slot and one and two player buttons. The 20" rotating monitor will be covered with a thin (1/4" thick) smoke translucent plexiglas, giving it a very slick, integrated appearance.
So I proceeded to cut the new 'base' piece of the unit. Each joystick would be supported on the bottom by the base, and I'd attach some recycled legs onto the bottom.
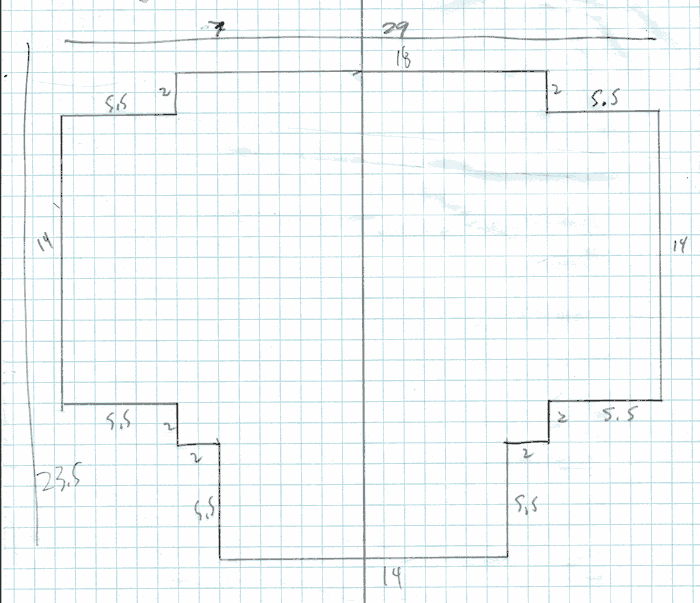
Arcade Base Plywood Cut Measurements
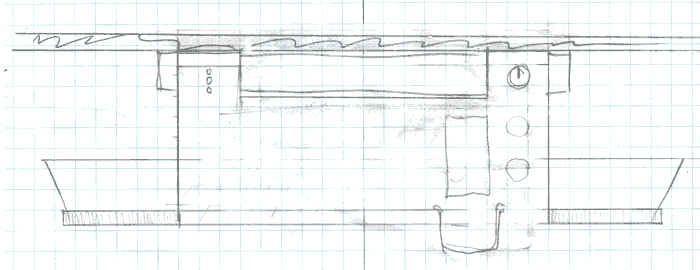
Arcade Side View Cutaway Drawing
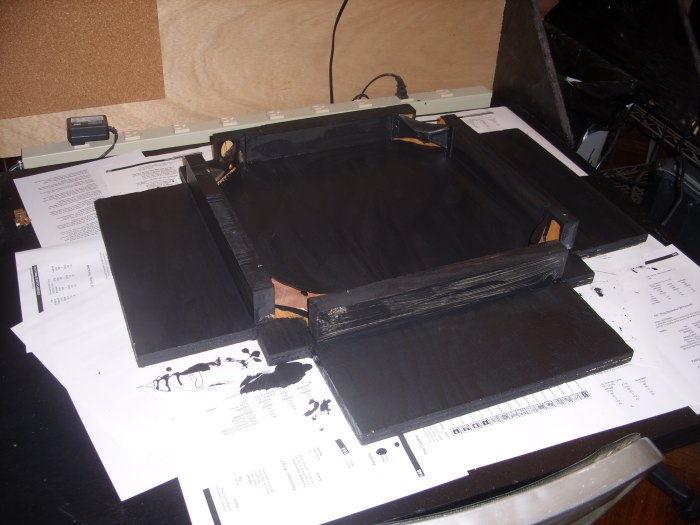
Arcade Base Plywood and Leg Assembly being Painted Black
Come back in another week for another update to the progress!
Click here for part two of this build. Here is part one if you want to start at the beginning.