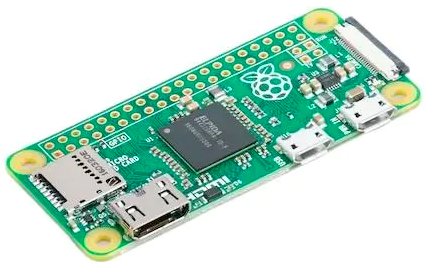
Setup a Raspberry Pi Zero W to run a Web Browser in Kiosk Mode as a free personal Dashboard
 This is my second pass at this project. I'd initially used a free(-ish) Pi Signage OS to load my own personal 'Dashboard' (a privately hosted custom HTML page) which simply started failing, mostly due to the OS's inability to get the date and time from the network (kept thinking it was 1900!). In this case, I got what I paid for, and it's free-ness was at the cost of useful-ness. Therefore, I already have done a lot of the backend development to craft my HTML Dashboard, so I only was looking to get it working again on a lowly and slow Raspberry Pi Zero W - a mere $10 SBC that sips power, too.
I started with this tutorial, which requests you to snag a free account on DakBoard so you can customize your screen / Dashboard. However, the meat of the article does include the heavy lifting of configurations you'll need, and you can easily add your own home page. I did avoid some of the more esoteric configurations (F5 key automated via code every 30 minutes to force a refresh?) used there in lieu of my simpler HTML-only setup.

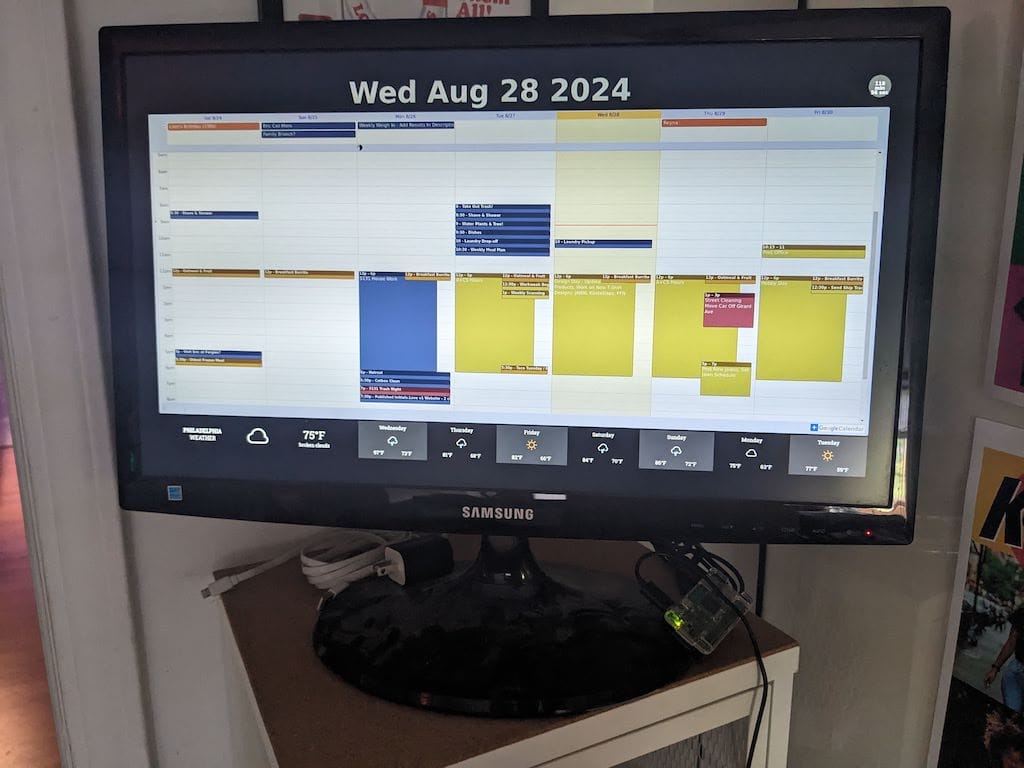
My Dashboard contains an embedded version of my Google Calendar, with room at the bottom for a free widget with a weeks worth of upcoming weather. I can use very standard HTML page refresh requests to update the page every few hours to allow it to re-capture any calendar updates that happen meanwhile. I'll forgo the usual live digital clock or live weather that many seem to love adding to their own Dashboard - I've got clocks everywhere and can see out the window for up-to-the-minute weather conditions. I want mine to act simply as a glanceable calendar. One hint - I found the embedded Google calendar's default colors and background was too bright, so I added a 50% opacity to the calendar element in my black background webpage to artificially lower the brightness without having to adjust the monitor itself. Any other elements are purposefully styled using CSS to be dimmer and have less contrast, to replicate the paper calendar look and feel.
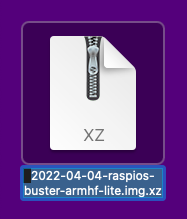
 I'll forgo the usual laundry list of parts you'll need to do this project (see title for that short list, not including cables), and get to the nitty gritty of how to configure it. We'll be using an older version of the Raspberry Pi OS - you'll have to download Raspbian Buster Lite and write it to your SD card (8gb works). I'm unsure and unwilling to check if we can use a more recent OS, but rumors suggest it's the native Chrome Browser of Buster predates some security fix. For a display-only device behind a firewall, I think you'll be OK... You'll need to do some Googling to find a copy of the OS on some mirror, and the resulting
 raspios-buster-armhf-lite.img.xz download is fine to use with the new Raspberry Pi Imager to write the OS to your SD card without being uncompressed.
The nice thing about Raspberry Pi Imager is that you can pre-fill out all the usual personalizations, and saves you a trip to raspi-config to configure hostnames, wifi name and country, and all that other stuff. While there, give it a unique hostname so you can find it on your network (calendar.local perhaps?), and enable SSH so you can configure it from afar without having to dig up that weird MicroB-USB to USB-A Adapter so you can plug in a keyboard. Once the Raspberry Pi boots completely, from your own Terminal, connect to it via SSH:
Since it's the first time, it'll ask you to authenticate the SSH handshake. Of course, your default username and hostname are different, as you've changed them with the Raspberry Pi Imager before writing the OS, right? First things first, lets apply the latest versions and updates to this old OS:
sudo apt-get update && sudo apt-get upgrade -yIt'll negotiate with the ancient servers, and spend a half hour installing a waterfalls worth of updates via text on screen. This is what you get with an old Operating System whose support expired earlier this year in June 2024. Get a coffee, walk the dog, clean the catbox. Done?
Remember how I said you don't need to use raspi-config? I lied, we need to setup console auto-login, so it can run Xserver and Chrome automatically. Go on and run it:
In Buster, the raspi-config menus are slightly different:
Save and exit out of raspi-config. Now we have to install the prerequisites for a minimum Xserver environment for the Chromium Browser:
sudo apt-get install --no-install-recommends chromium-browser -y
Since you just installed them, now you have to configure some of those helpers. First, we'll start Xserver automatically on boot:
sudo nano .profileAdd the following line to the bottom of the file, then save it and exit.
[[ -z $DISPLAY && $XDG_VTNR -eq 1 ]] && startx -- -nocursorNow we'll configure Openbox, which sets Xserver configurations on start:
sudo nano /etc/xdg/openbox/autostartAdd the following line to the bottom of the file, then save it and exit.
# Disable any form of screen saver / blanking / power managementxset s off
xset s noblank
xset -dpms
# Allow quitting the Xserver with CTRL-ATL-Backspace
setxkbmap -option terminate:ctrl_alt_bksp
# Start Chromium in kiosk mode
sed -i 's/"exited_cleanly":false/"exited_cleanly":true/' ~/.config/chromium/'Local State'
sed -i 's/"exited_cleanly":false/"exited_cleanly":true/; s/"exit_type":"[^"]\+"/"exit_type":"Normal"/' ~/.config/chromium/Default/Preferences
/usr/bin/chromium-browser --kiosk --incognito --noerrdialogs --enable-gpu-rasterization --disable-translate --no-first-run --fast --fast-start --disable-infobars --disable-features=TranslateUI --disk-cache-dir=/dev/null "http://www.yourdashboardurl.com/index.html" &
Did you see it? The ugly URL above that you're supposed to change to your own Dashboard? Good. I'm glad you figured it out.
Save, exit and reboot. Give it a minute. I can hear the very tiny and very slow processor boot up and slowly access your wifi network and load your Dashboard. It takes a lot longer than your desktop, right? Expected with a low-power and low-cost SBC. It'll get there...
Success!
Enjoy your free forever Dashboard and repeat this project ad-nauseum for all of the rest of your old Monitors looking to be put to use again. Cheap Raspberry Pi Zero W's are gonna cost about as much as the SD cards needed to run them. I put the monitors on Smart-Plugs that turn off overnight and the Raspberry Pi can be easily setup to shutdown safely ahead of time via a crontab, or play with matches and just shut it down rudely with the monitors. Making a copy of your finished and configured SD Card shouldn't take any extra time, and you can store it with the Raspberry Pi as a backup when the day comes that your current SD card will simply fail due to constant (ab)use. You're welcome!