Insert Coin Scrap Tile Art
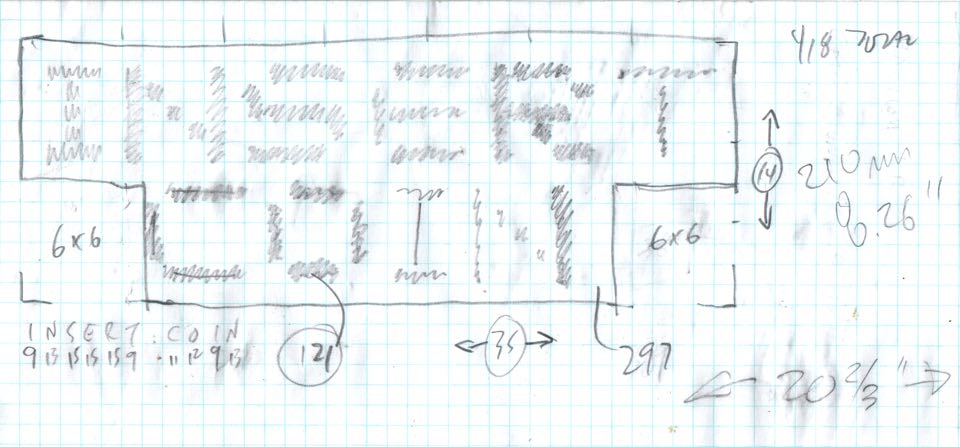
I happened to have more than a handful of white and black 1/2" ceramic tiles leftover from another project from long ago (looking for that link still...might be on my older archived blog...), and figured I should put them to use in another new bitmap art project. Feeling nostalgic, and fondly recalling the hundreds of dollars in quarters I donated to video games as a youth, I came up with the perfect bitmap message that defined the first video game generation. I did a quick rough sketch on some graph paper and did some quick math to determine if I had the inventory of tiles to accomplish the design. Thankfully, I did, with only a few to spare.

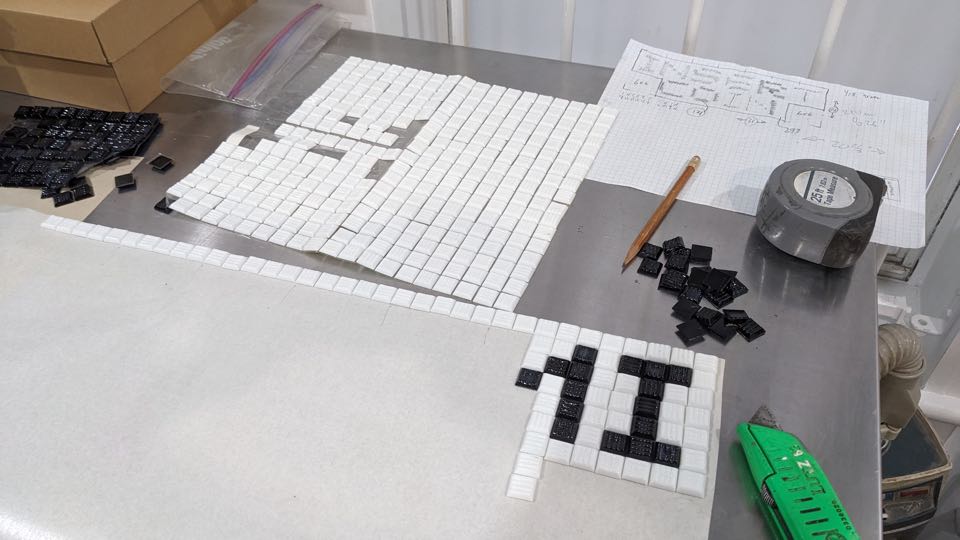
As with all tile projects, you work in mirror mode, and add the glue/mortar and backing after the design is done. I noted the rough full size of the finished design above, and then tore off a piece of vinyl sticker transfer paper (which is basically very wide masking tape), and placed it sticky side up. Using the top edge as a straightedge, I placed the tiles using my sketch.

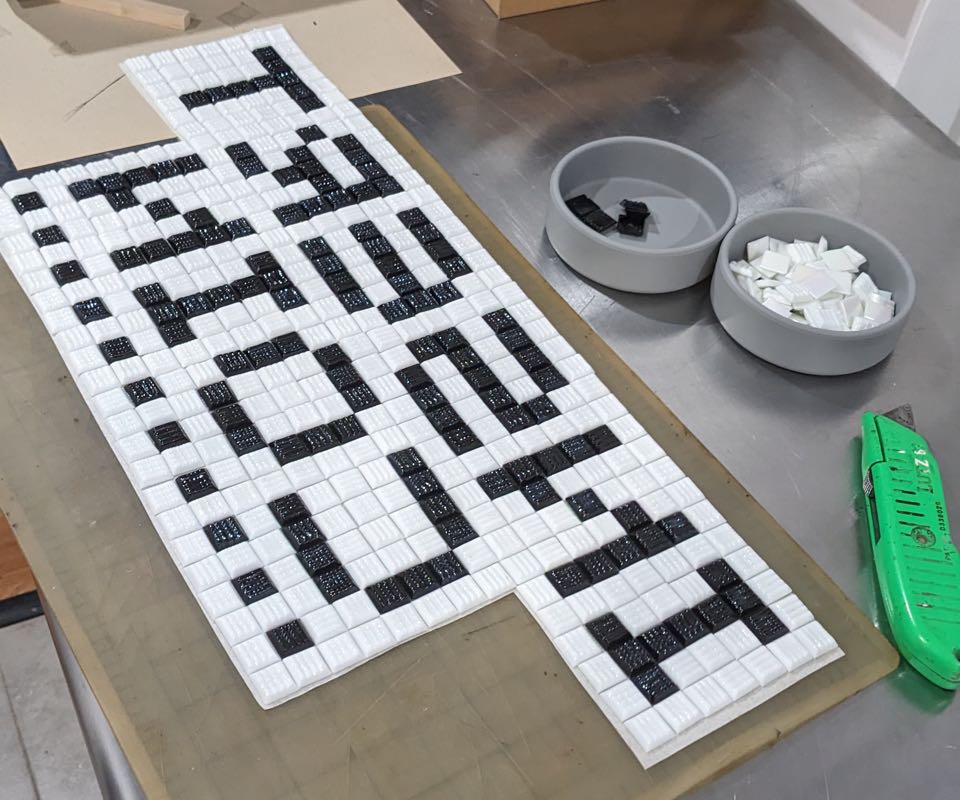
In hindsight, I should have done my initial sketch backwards, so it would make placing the tiles quick. As it was, I had to double-check my placements to ensure I didn't invert any character. Once I finished the planned design, I took note of how many left over tiles I had, and added a dotted line underneath to use the rest of the spare tiles. You can see the small handful of leftover tiles in the next image.

Next up, I used the finished tile design as a template for the backing board. I had some scrap paperboard backing from some old art frames laying around, and used a small section of one to make a perfectly sized backer. This is what the tile will be mounted to, and needs to be strong enough to hold the weight of the tile and adhesive. I used a square to ensure my cuts were, well, square. Hand cutting the backer board with a razor blade was easy, and left clean edges.
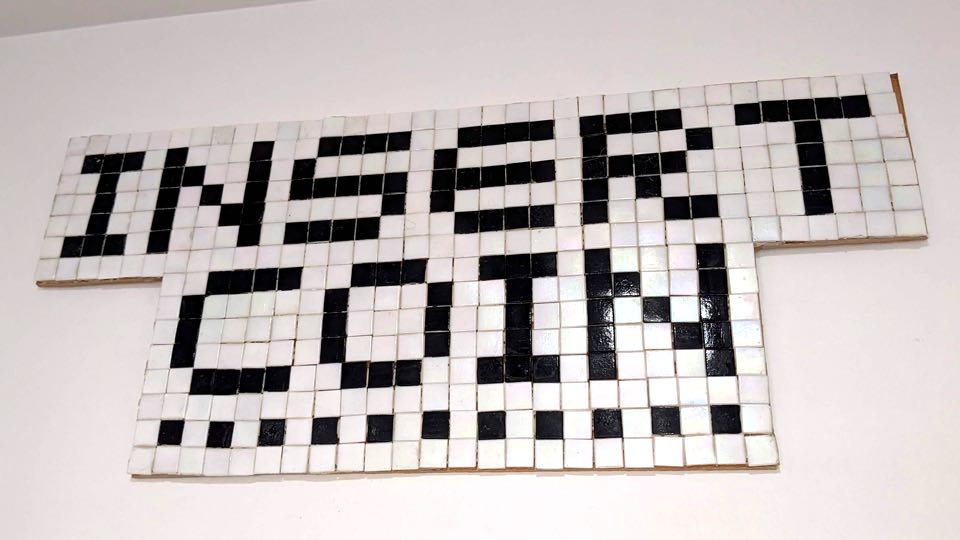
As opposed to using (very heavy) tile mortar, I opted to use a tube of construction adhesive instead. I applied a simple bead of construction adhesive across every tile back, and then fit the backer board before weighting it down for the 24 hour drying time. After 24 hours, I inverted the entire solid unit, peeled off the transfer paper face, and used wet paper towels to clean off the face of the tiles, especially where the construction adhesive bled through and covered the front of the tiles.

Smartly, I'd drilled hanging holes in the backer board before I glued it on, and now can simply tack two nails in the wall level and 13" apart to mount the whole (heavy) tile piece on the wall. I may buy some snap-on 10mm wide U-channel trim to surround the entire design (and hide the sloppy & un-square tile application - most evident in the top right corner), but for now it looks great on my wall! Excellent re-use of some leftover art supplies, and a quaint nostalgia trip down memory lane. Anyone got a case quarter?