This time, I've kept the camera on hand to snap some photos as I go along. First, a couple of hints/advice from a first-timer:
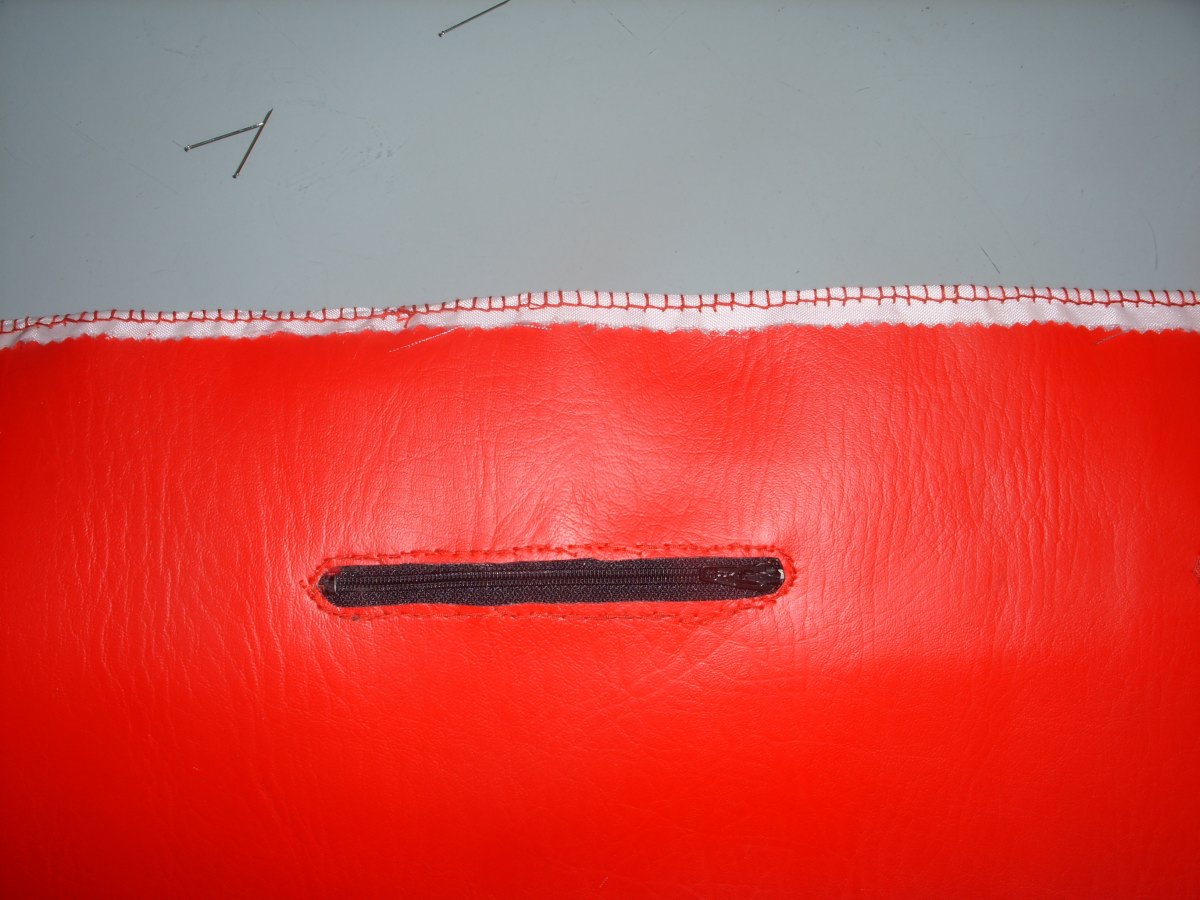
- Sew the Zippers in First.
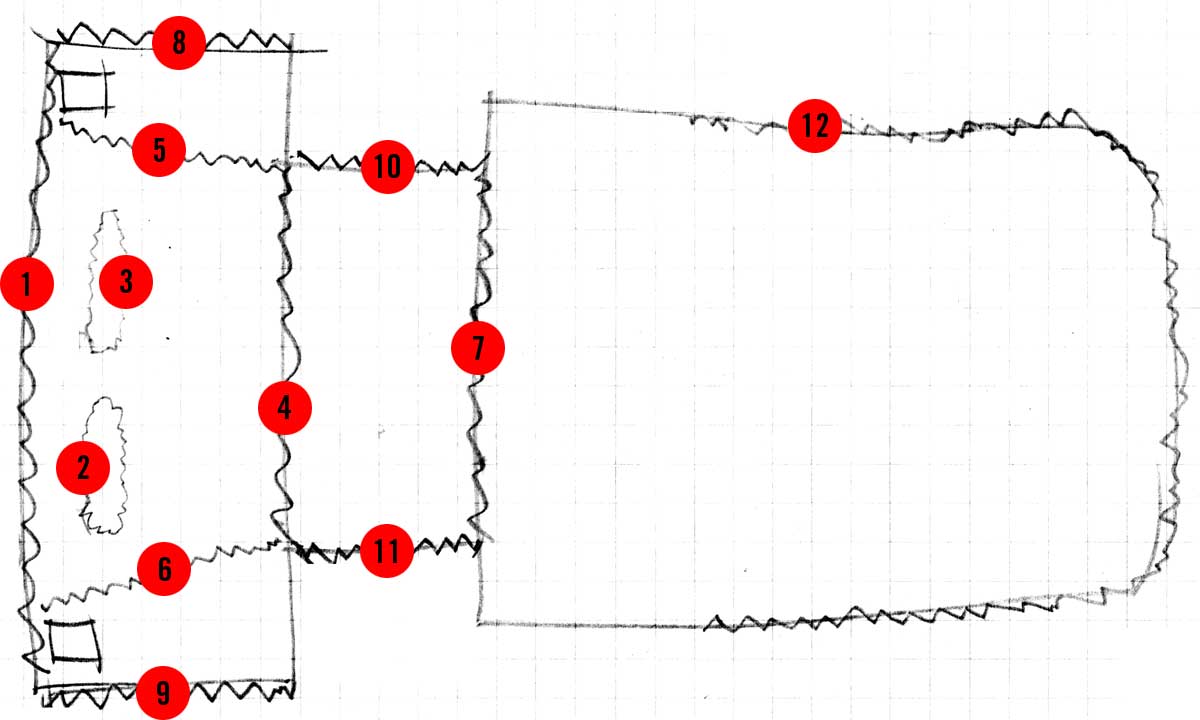
- Use the Sewing Order (embedded below) to ensure it works.
- Reinforce your corners with extra stitches.
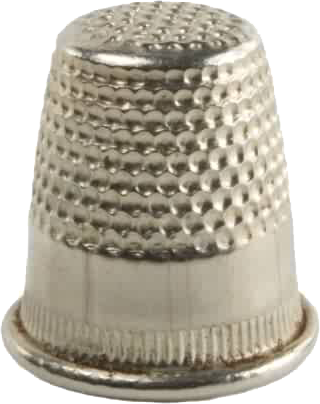
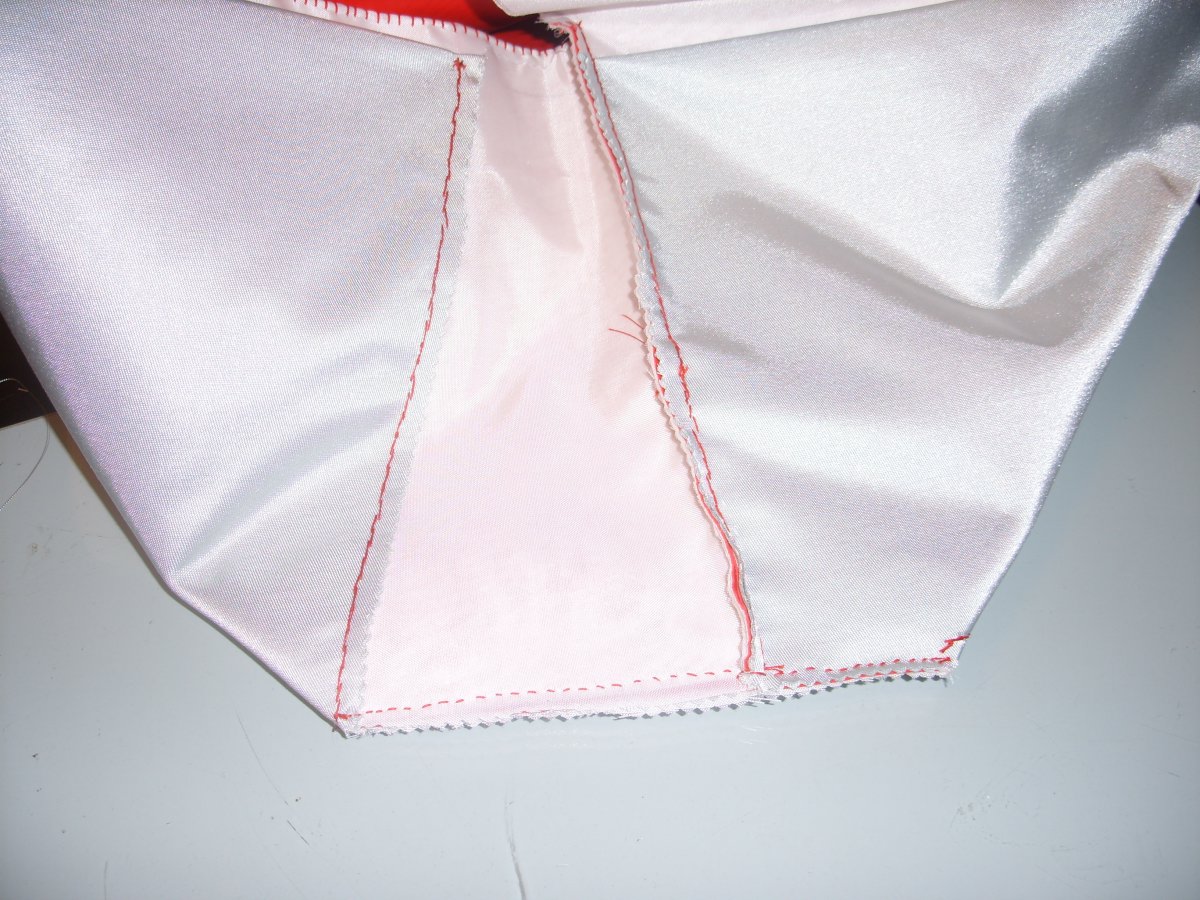
- Get a thimble - you'll need it for some thick seems, like the bottom of the bag. Up to 6 layers of fabric!
- If you can, use a Sewing Machine. Hand stitching takes f o r e v e r.
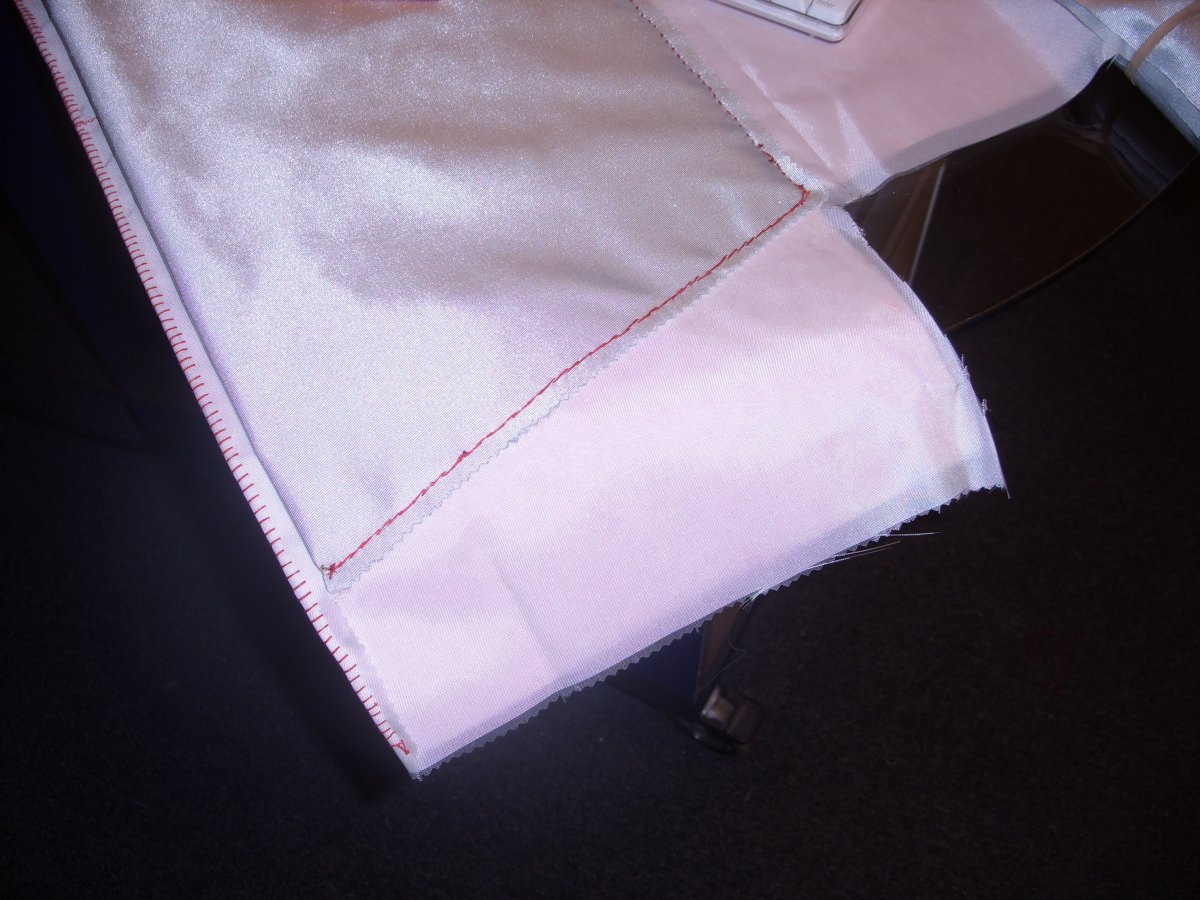
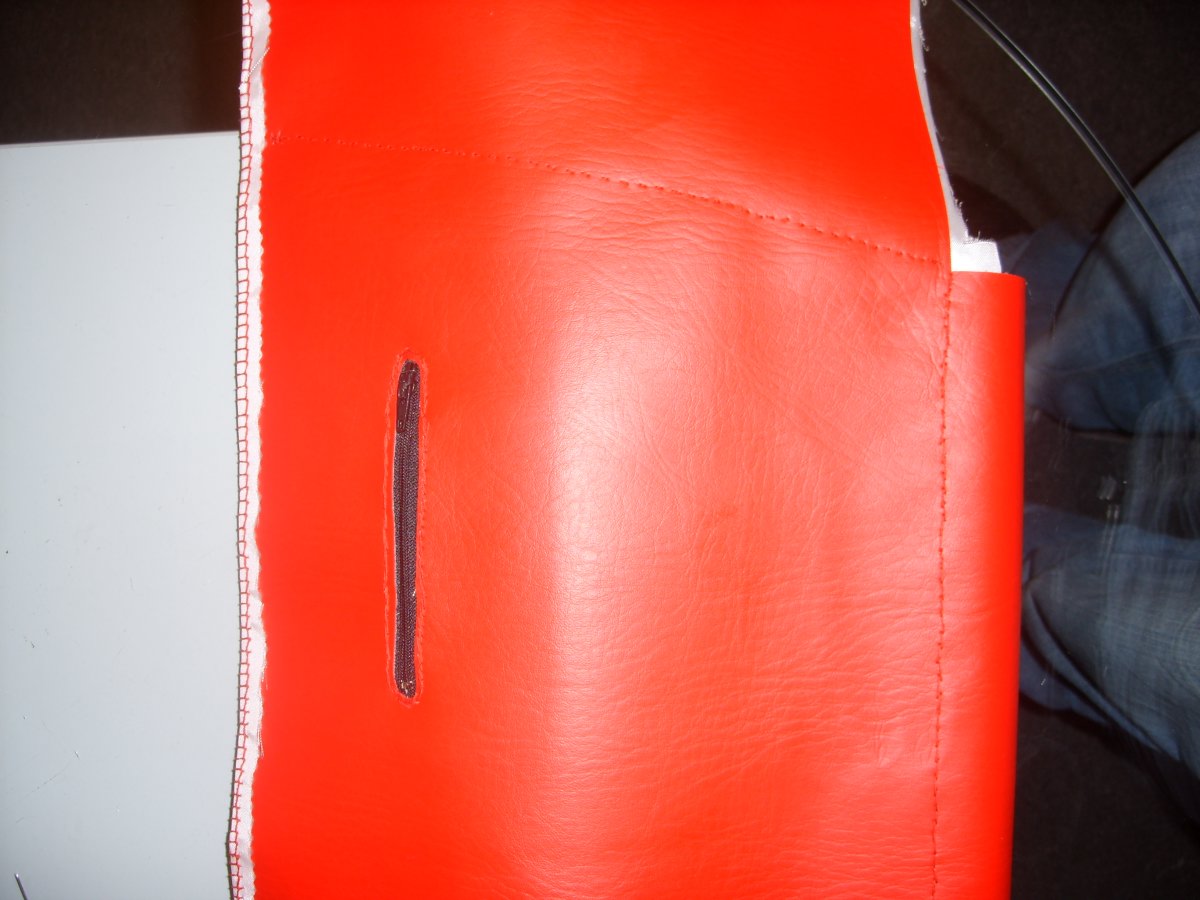
At first, I folded the inner liner fabric over the front open edge of the bag and used a blanket stitch to 'seal' the edge. I should have stitched in the zippers now, but I instead pinned the inner front bag for sewing. The below picture has both the top blanket stitch edge and the zipper sewn in.
The Sewing Order
- It doesn't matter which side you start on, simply go in a straight sew line. Also, reinforce your corners with extra stitches.
- Seems 1 and 12 are blanket stitches Everything else is whatever works for you.
- After seems 4, 5, 6, 7, 8, 9 are done, you can trim off excess fabric on the inside using pinking shears.
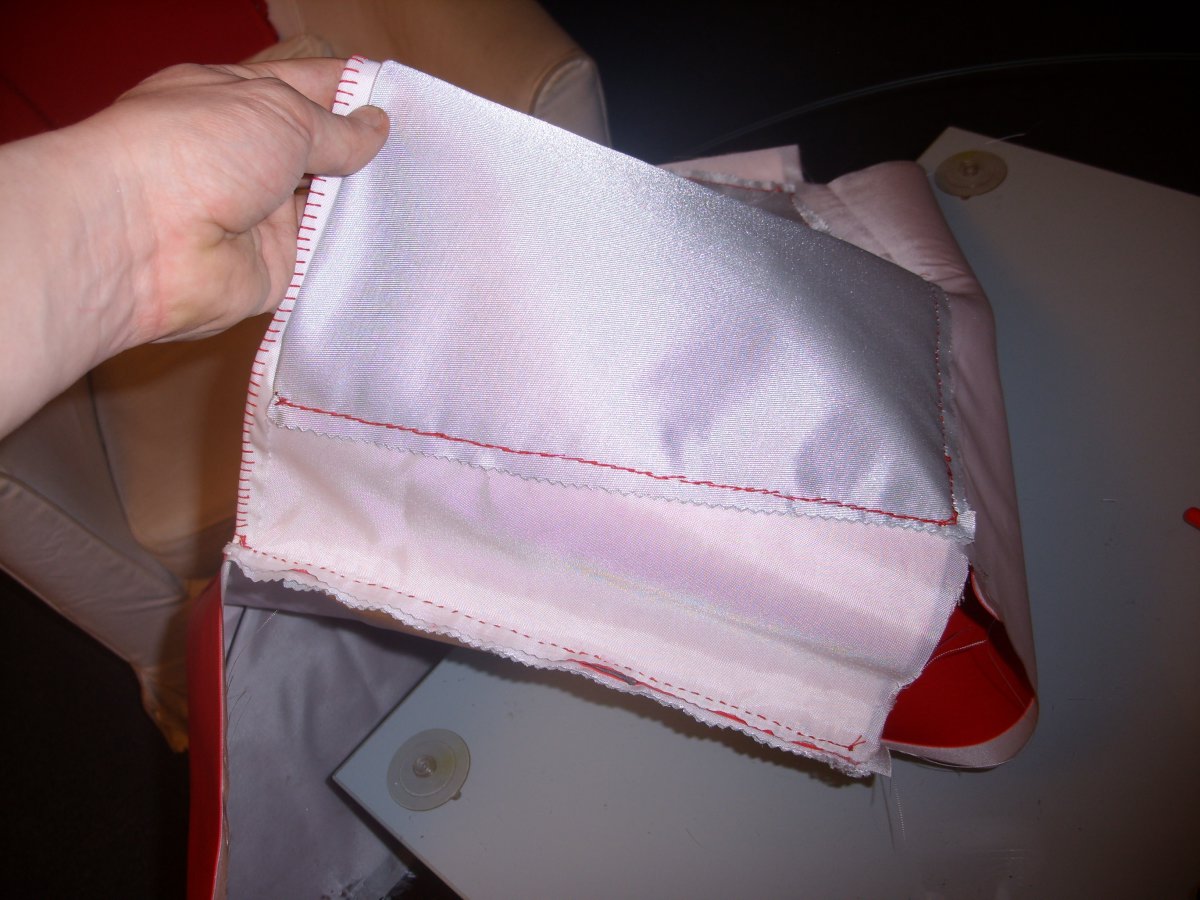
- Be careful with seems 5 & 6 - only cut the pocket and the second layer of liner. Keep the liner intact for the inside of the bag.
- Seems 8 and 9 are folded over to match the opposite side of the bag. Yes, it's floppy and doesn't naturally fold that way, that's why you should pin your seems before you sew them.
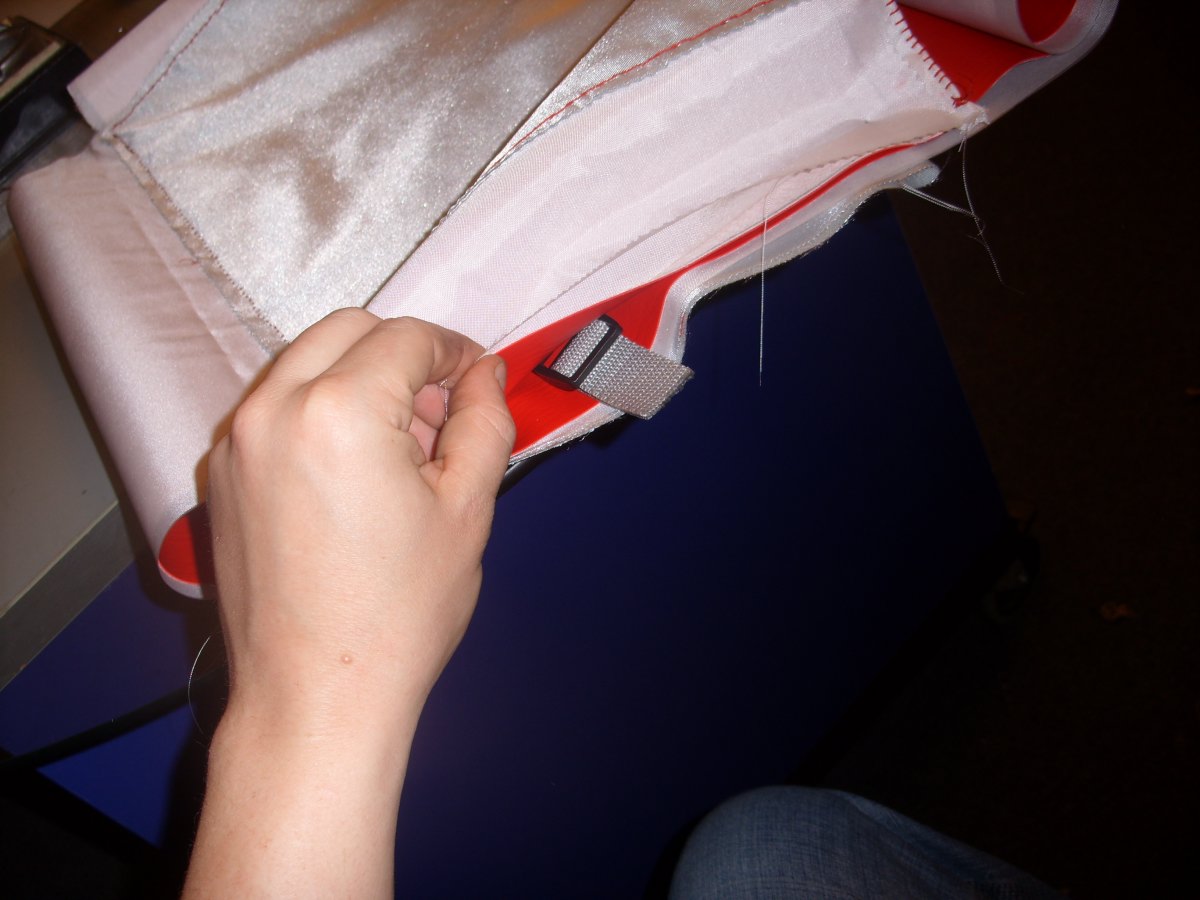
- Don't forget to insert short straps folded to act as supports before you start the seem!
Bookmark and Come Back!
Well, I'm nearly done! I have exterior straps to add, and some fine-tuning to do. You'll have to come back in a few days (in 2010!) to see the final part of this developing build. I'll have final 'glamour' shots!
