In Which I Design My Own Messenger Bag (Part 3)

Some final assembly pictures before I do the 'glamour' shots. In the first picture below, I used fabric glue to double-over the straps, then clamped the ends together with clamps. This made a small 'sewing square' that's highly reinforced that I used to attach to the bag. The top hand strap is already glued, now I'm gluing the front flap closure. I'm measuring for placement, and marking with pencil.
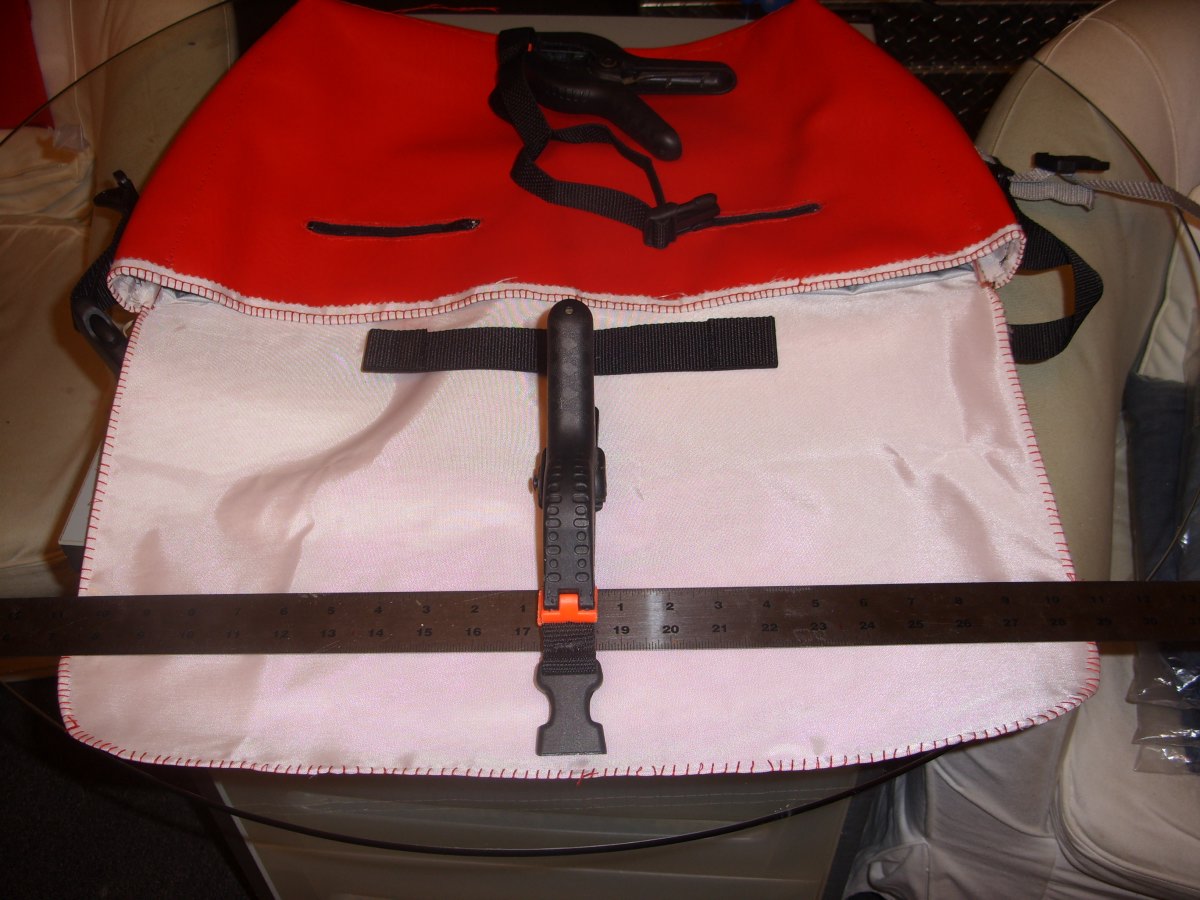
Measuring and Placing the final Straps
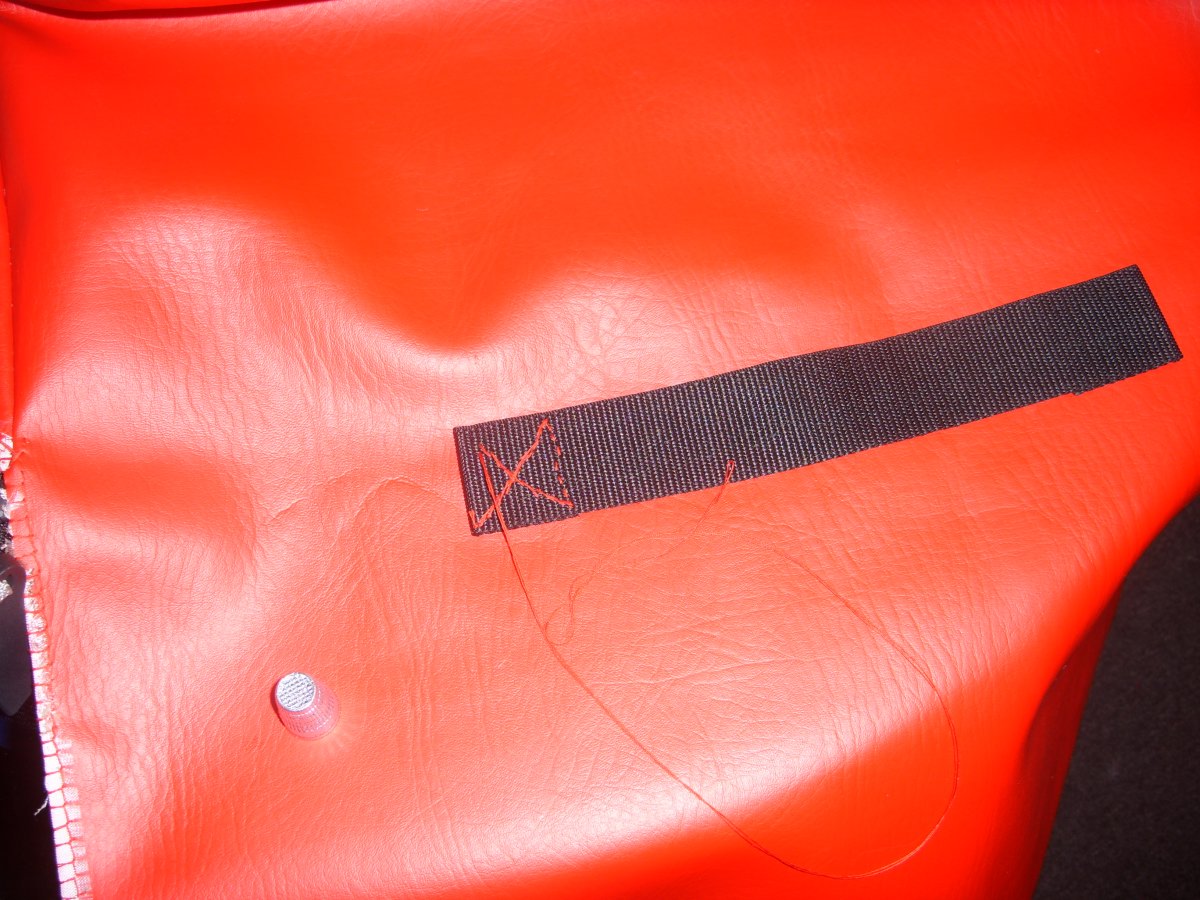
Sewing the Top Handle on the bag - tedious! Plus, I just broke my second needle!
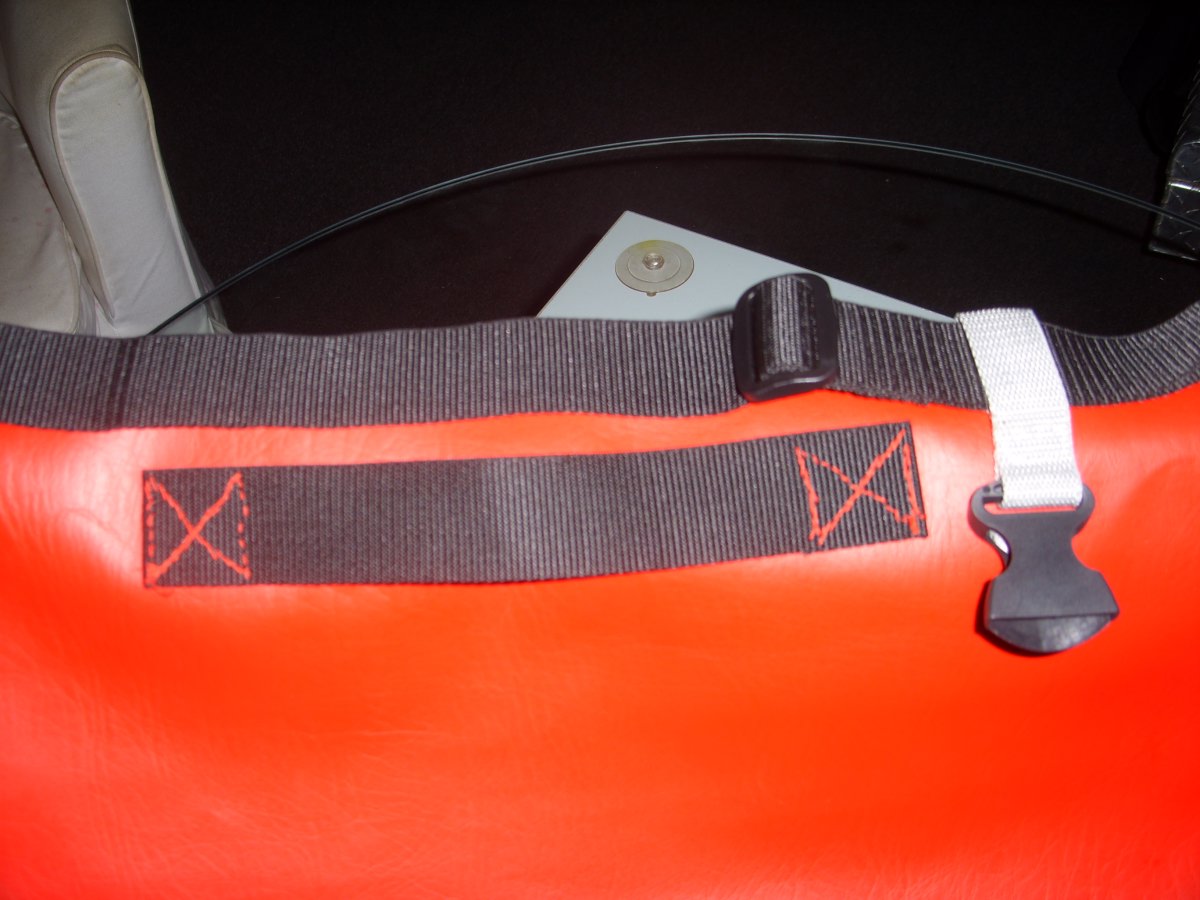
Finished Sewing the Top Handle - Time for my Close Up!
The Finished Seems...So Close!
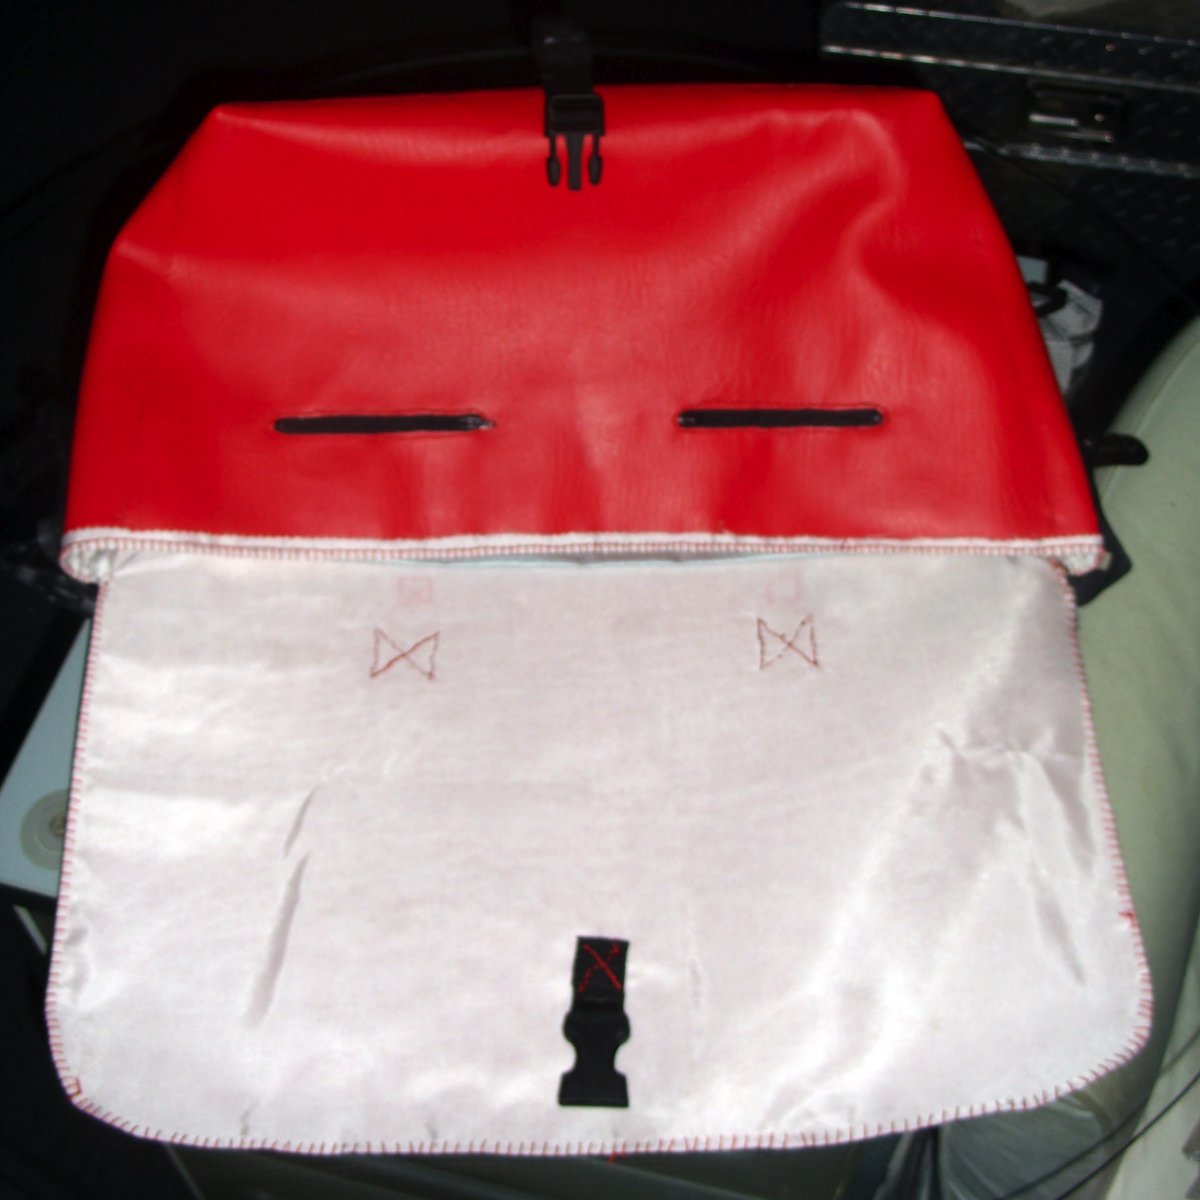
Finished the Flap Closing Straps
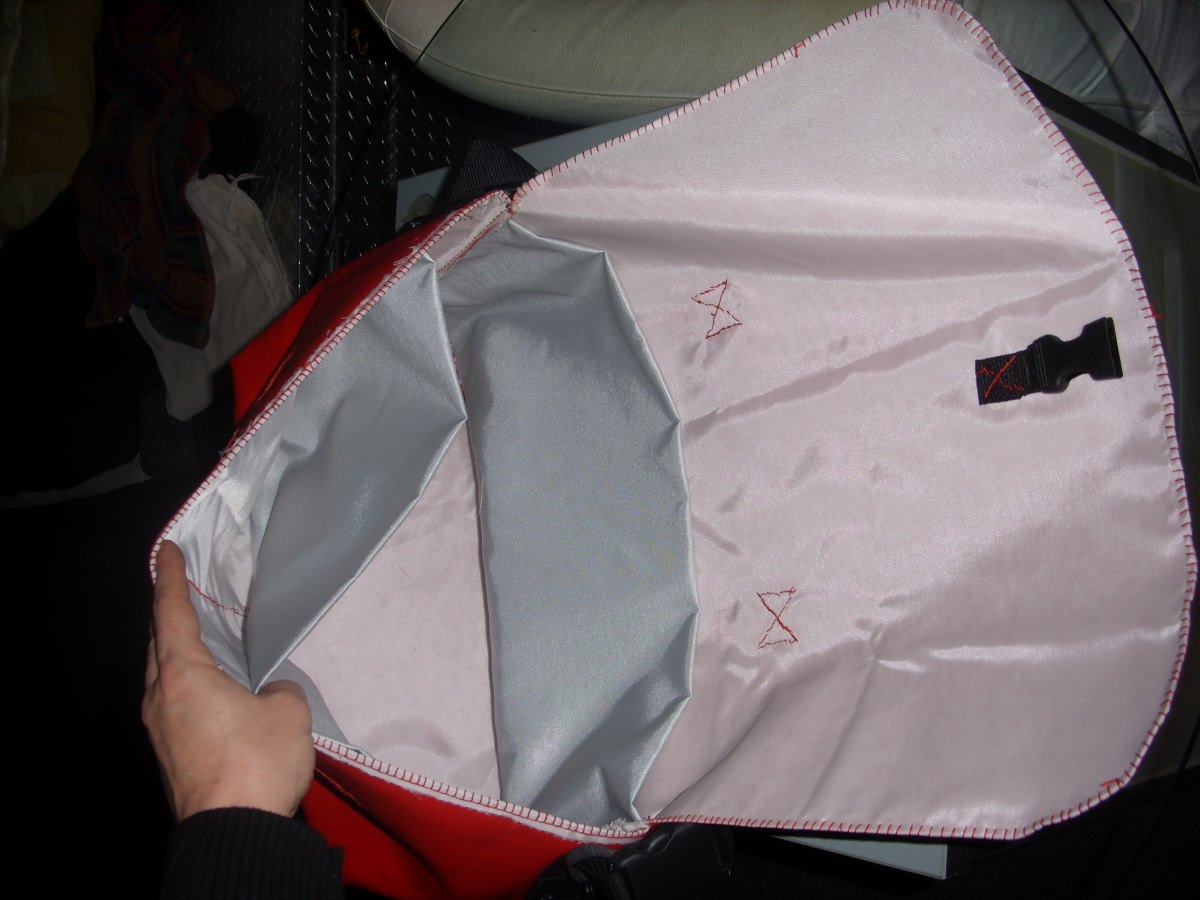
A Quick Peek Inside the Messenger Bag
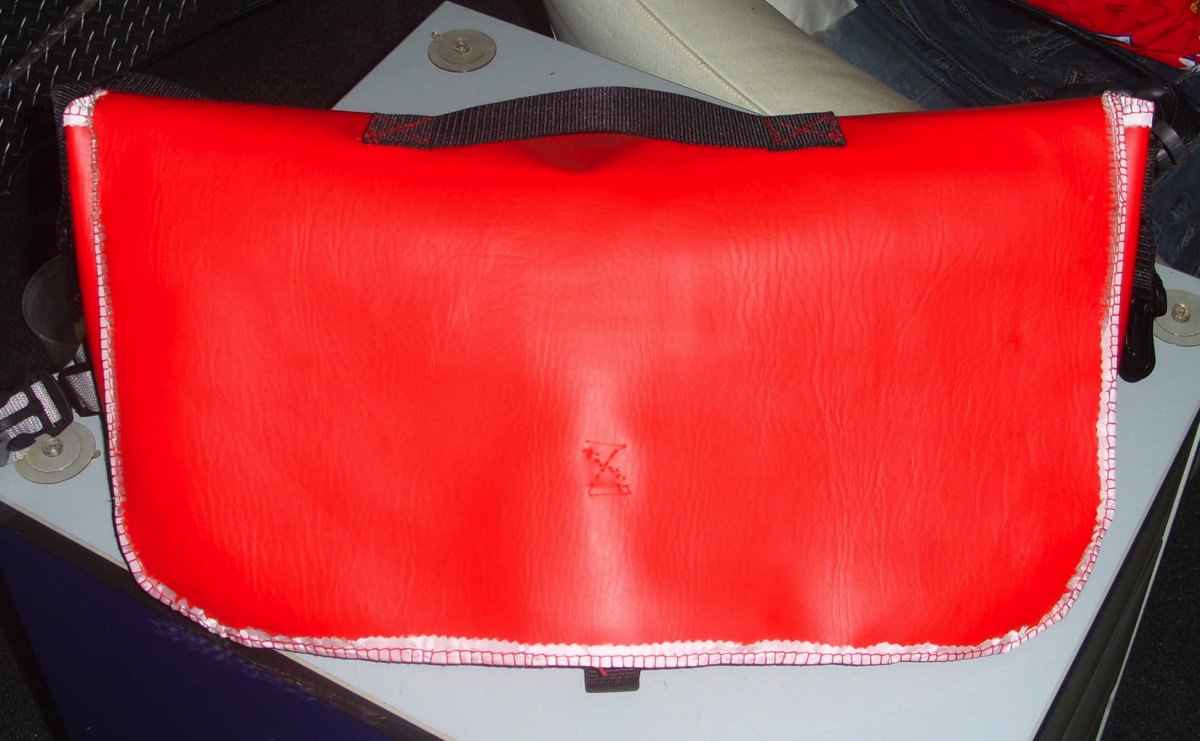
Strap Seems on the front Flap - Bag looks done!
The Glamour Shots!
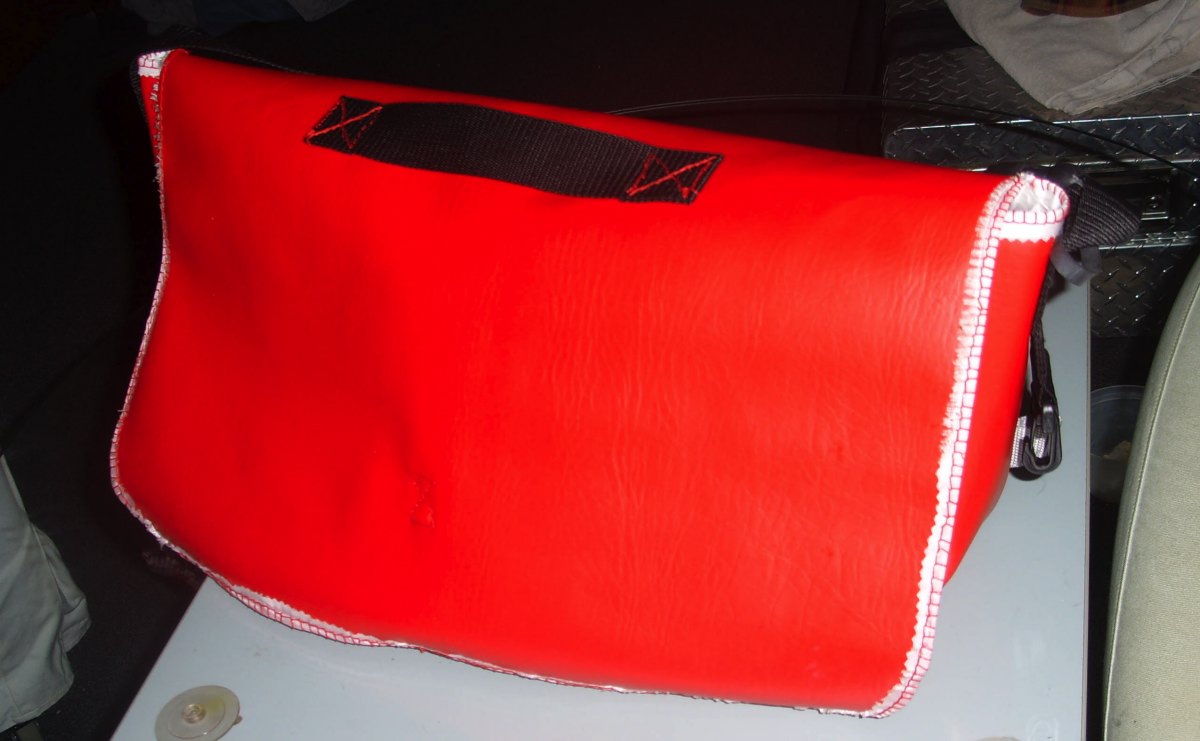
Messenger Bag Finished Closed and Sitting on a Glass Table
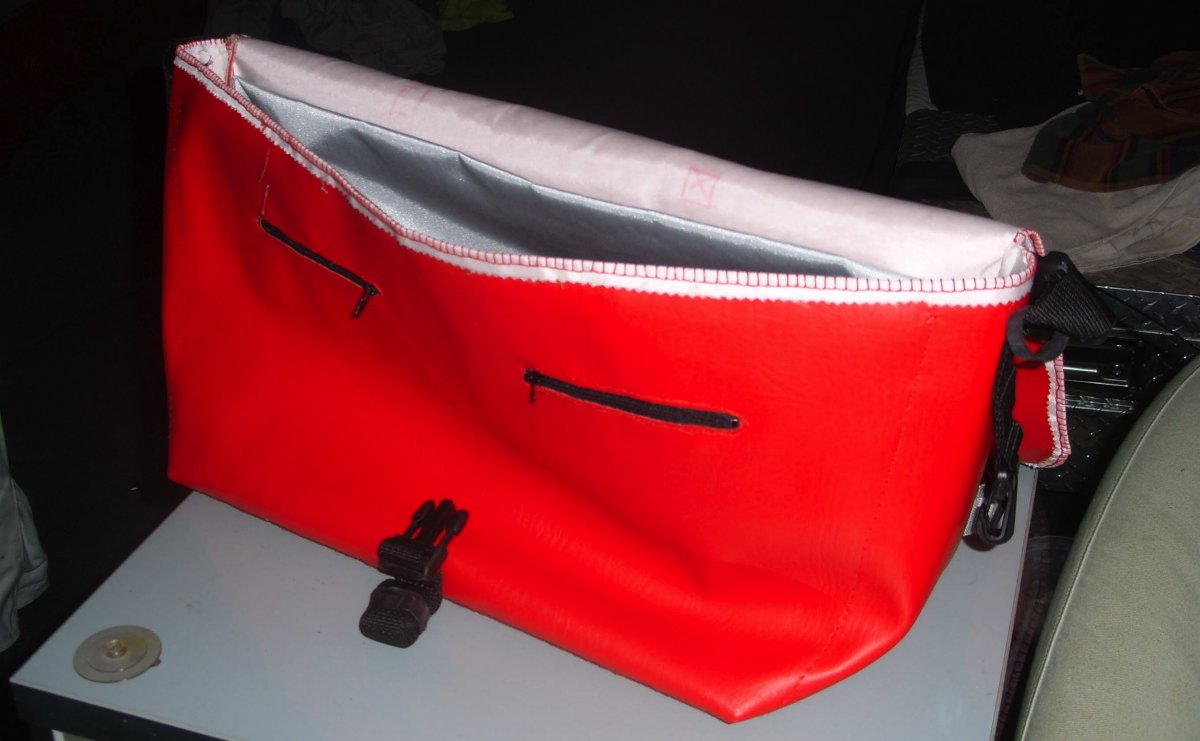
Messenger Bag Finished Open and Sitting on a Glass Table
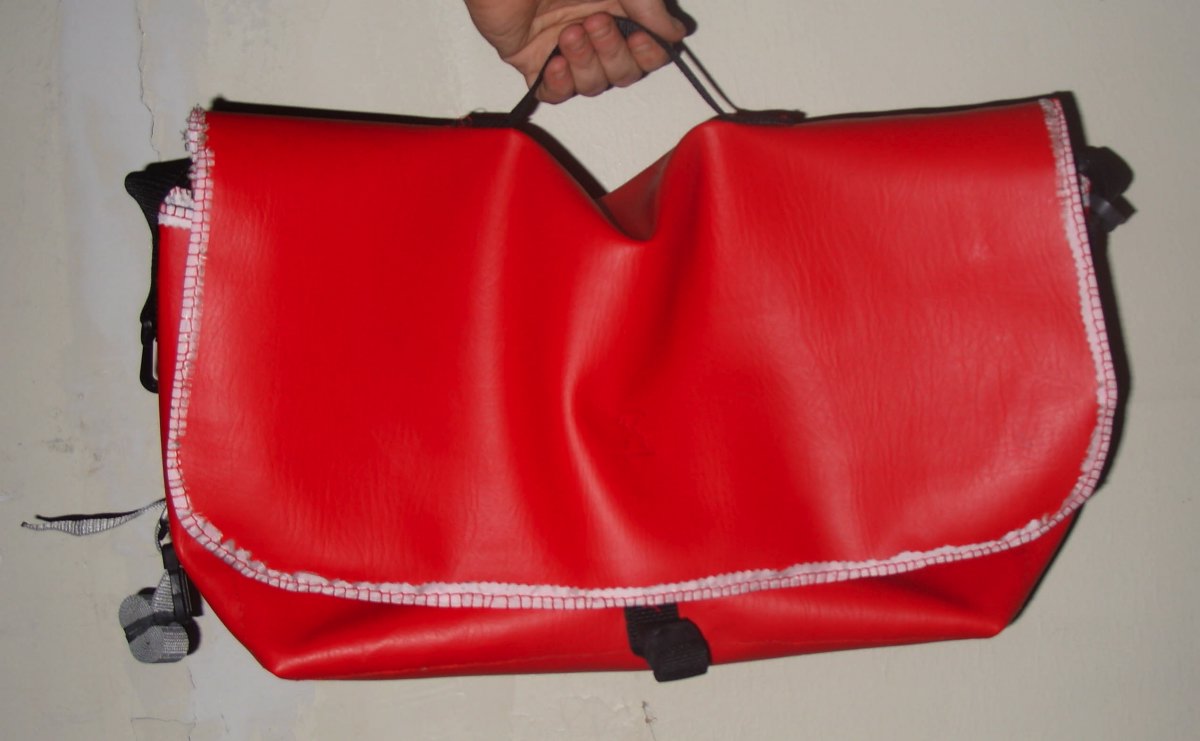
Messenger Bag Finished & Held for Front Side View
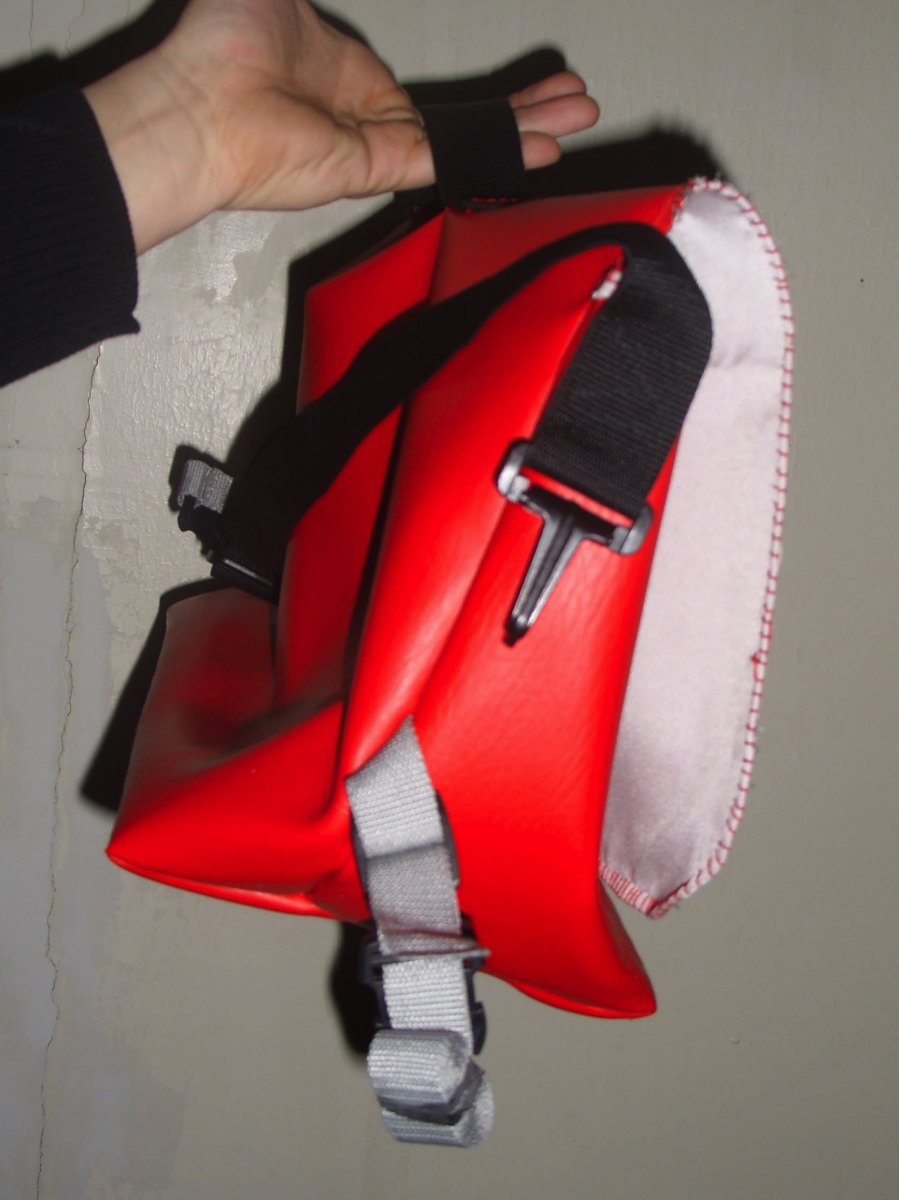
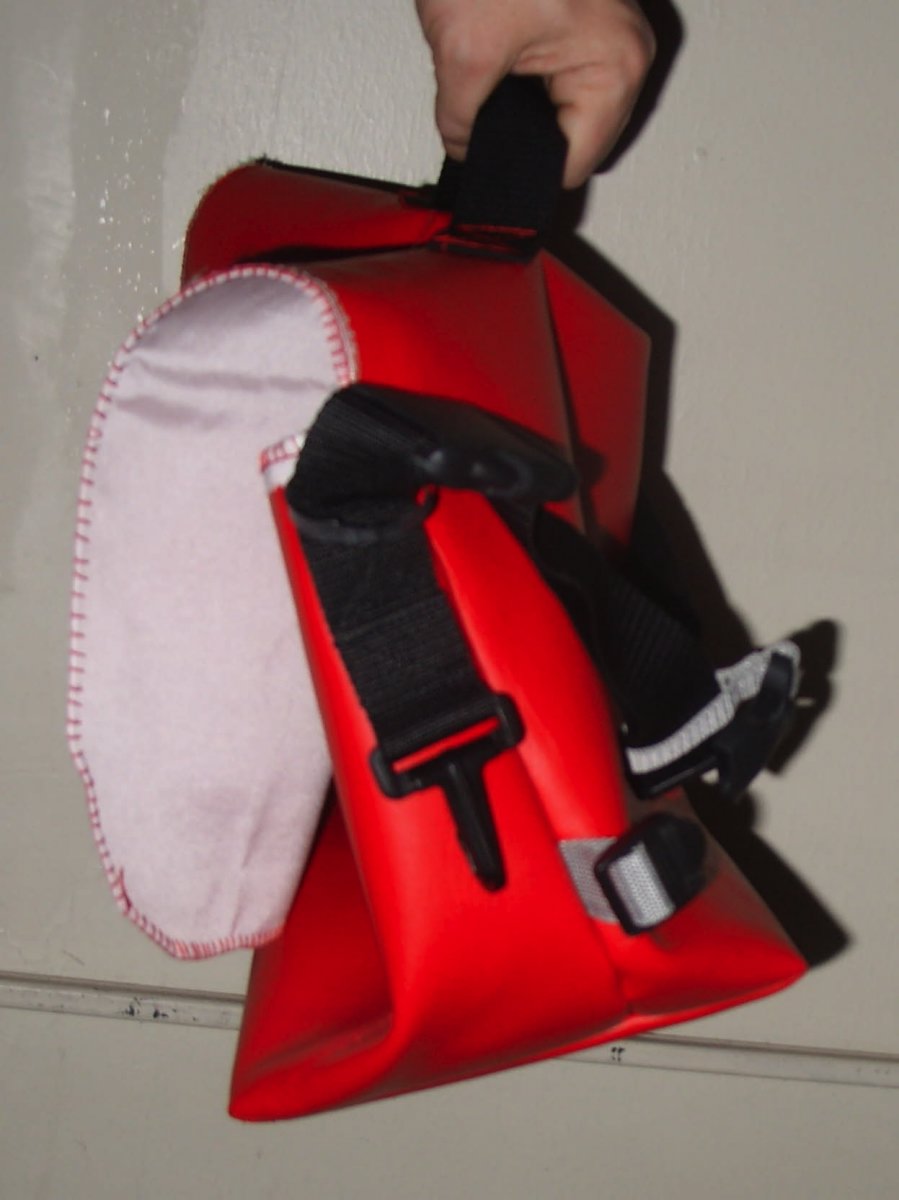
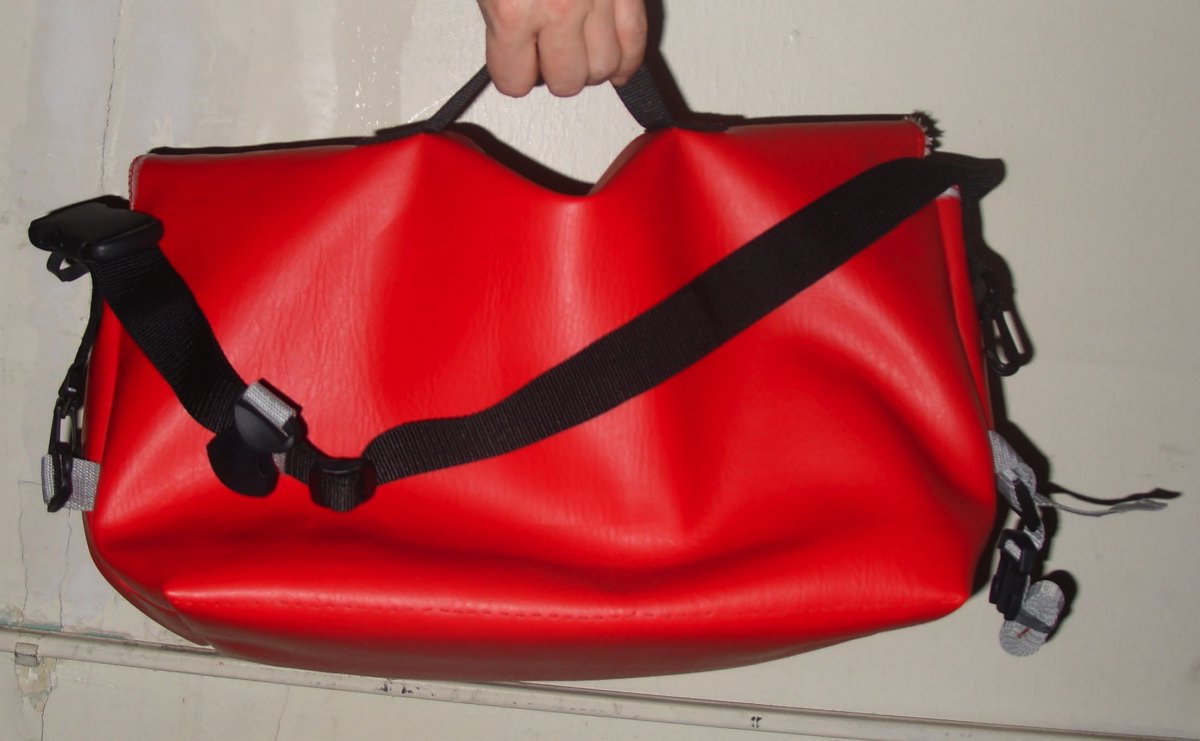
Messenger Bag Finished & Held for Back Side View
Quicklinks: In Which I Design My Own Messenger Bag (Part 1) (Part 2) (Part 3)


