
I won't blather too much in this post, just use the pictures to speak for themselves. There will be more, as I finish the monitor mount. If you need a refresher, start at Part 1, Part 2, or Part 3... (this is Part 4, silly!)
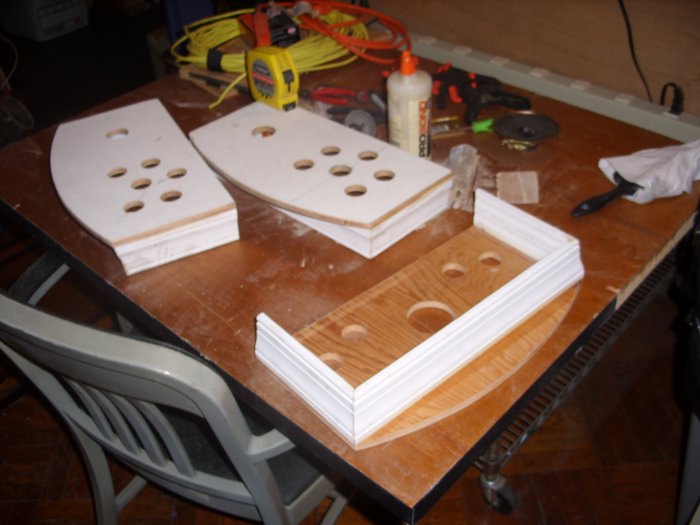
New Arcade Joystick/Player frames
Note the side molding is simple door molding, cut to size, with 45 degree angle cuts at the corners. It reduces the bottom footprint by an inch all around, and gives a better silhouette.
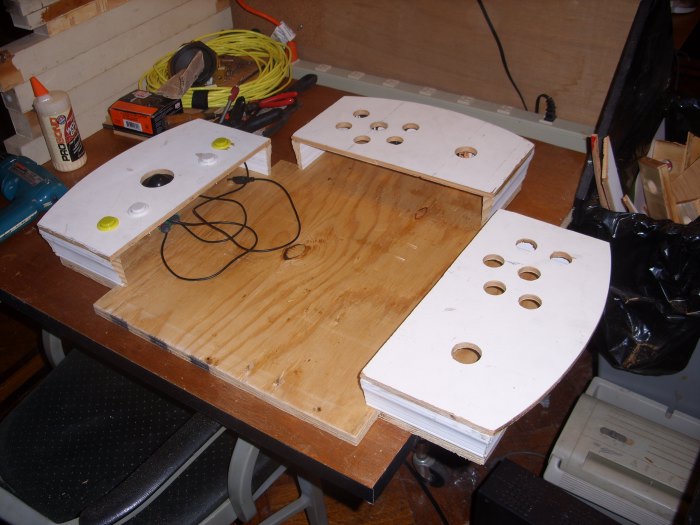
New Arcade Base with 3 Player Positions
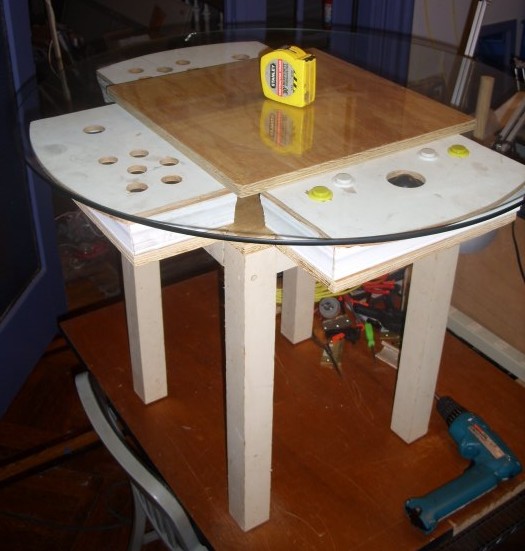
Unpainted Rough Arcade Cocktail Base Layout
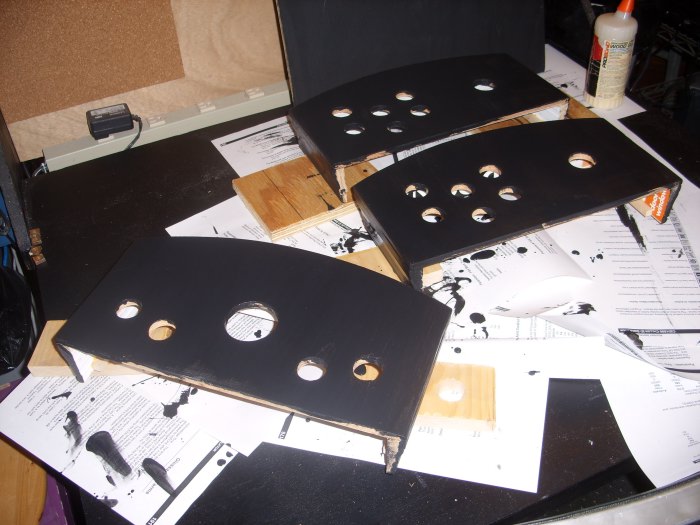
Painting the new Arcade Player Positions
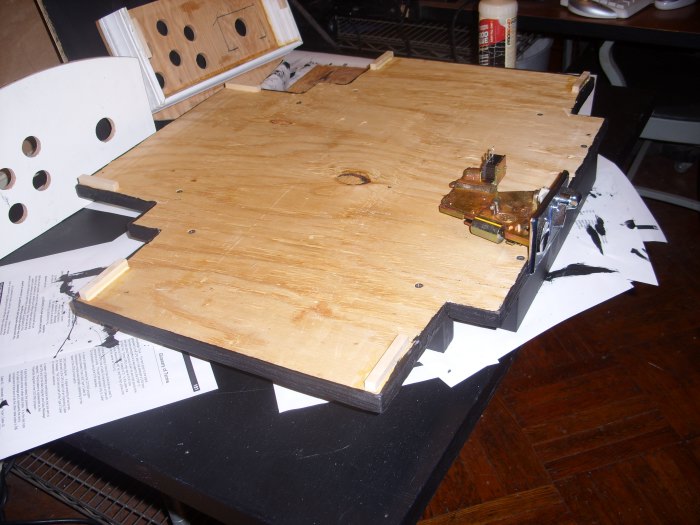
Building on the base arcade frame
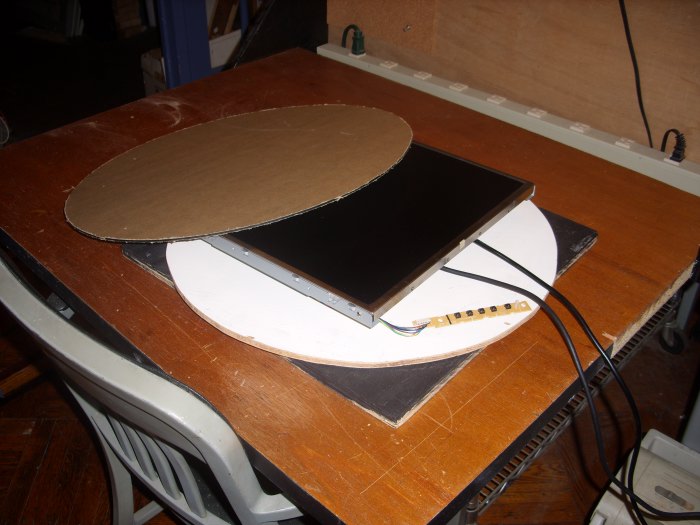
Rough Monitor Layout with covered plexiglass on top
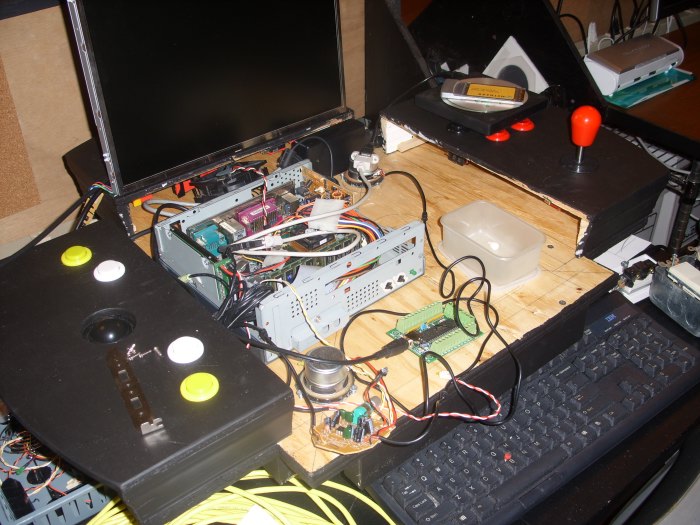
Main cocktail arcade unit coming together